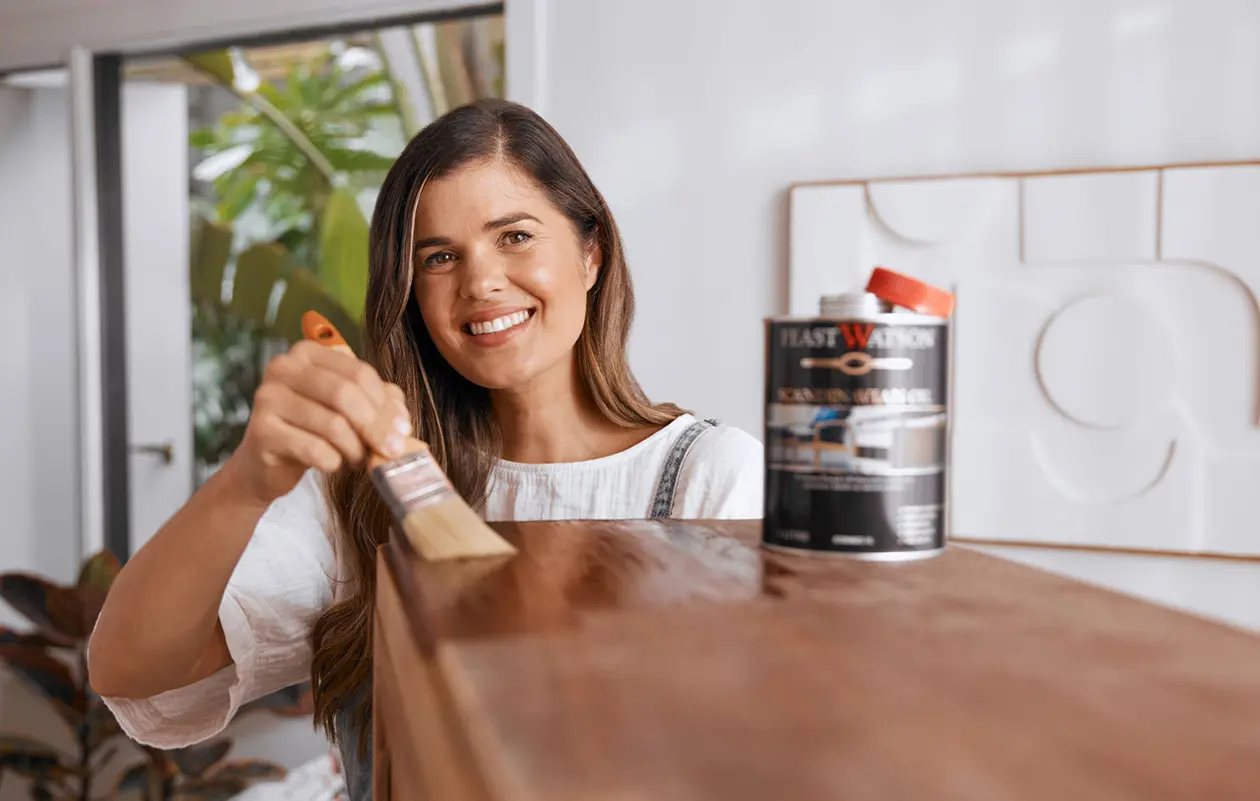

Create the perfect addition to your entertaining spread with this simple DIY using Prooftint and Kitchen Timber Oil
The entertaining and gift-giving season is on our doorstep, and luckily Geneva Vanderzeil is back with a truly delicious DIY project - timber serving boards! These boards, with their natural appeal, not only elevate the look of the holiday tablescape but also make the perfect hostess gift.
All it takes is a few simple steps, some round wooden boards, an assortment of furniture legs, Feast Watson Prooftint and Kitchen Timber Oil to make these unique stands. The rich wood stain colours impart an elegant hue, while the Kitchen Timber Oil protects the wood from everyday wear and tear. Continue reading to learn how to make a timber serving board.


Add colour with a stain
Prep your furniture legs by removing any metal screws with a pair of pliers.
Use a brush to apply one coat of Prooftint.
Allow to dry.
Time to seal the colour and add protection
Stir Kitchen Timber Oil gently with a flat blade stirrer.
Use a cloth to apply a coat of Kitchen Timber Oil.
Leave Kitchen Timber Oil to soak into timber for approximately 45 - 60 minutes, then wipe off any excess product with a clean cloth.
Allow approximately 24 hours to dry between coats.
Apply a second coat of Kitchen Timber Oil. Allow a minimum of 24 hours to dry.
Glue the legs to the base and allow to dry completely.
All that's left is to adorn it with some scrumptious treats or wrap it up for someone you love. Check out the Prooftint colour range and find your favourite hue to get started.

What you'll need