Making planter magnets
Making planter magnets
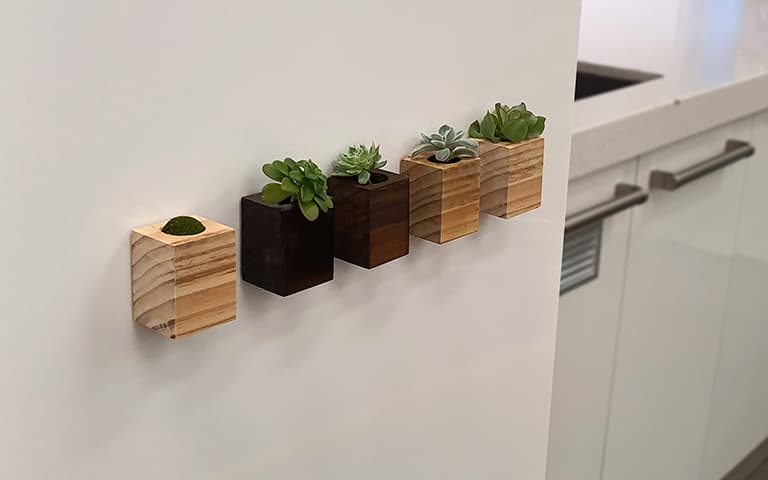
Planter magnets are a stylish addition to any space and can be easily customised by carefully selecting a stain or varnish that suits your home decor. The kids will love spending time with you, staining their planter and potting their plants. What a great project to complete together during the school holidays!
What you'll need

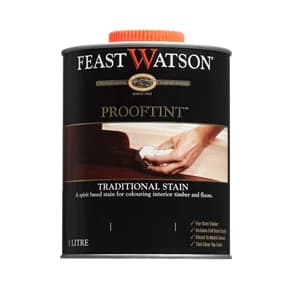
Feast Watson Prooftint™
Colour
Oak
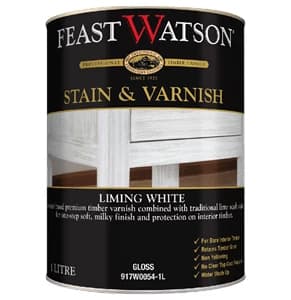
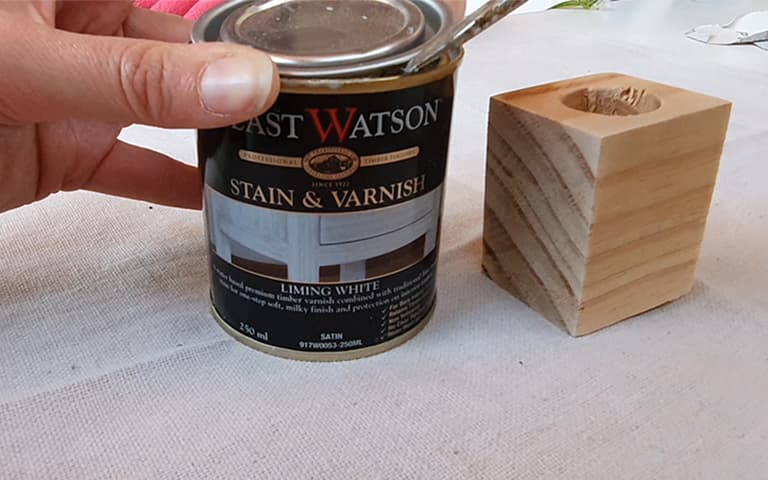
Feast Watson Stain & Varnish
Colour
Liming White

Feast Watson Stain & Varnish
Colour
Black Japan


Paint Brush


Stirrer
Sandpaper
Timber offcuts (around 50mm x 30mm per planter)
Strong self-adhesive magnets per planter (these can be found at any hardware store)
Safety gear (Protective Glasses, Clothing, Ear coverings and a mask)
A drop saw (or hand saw)
Drill
Step One: Reuse it
Use any kind of timber off cuts you have. You can use any size you like depending on how big you want the planters to be, however making each planter small (about 50mm x 30mm) will mean the magnets will be able to support the weight of your planter.

Step Two: Drill it
Drill 25mm round holes along the length of your timber, spacing them evenly apart. You need one drilled hole in each planter. Make sure you don’t drill the whole way through the timber. Aim to have a hole around 10mm deep. This is where you will pot your plant after you have stained your timber.
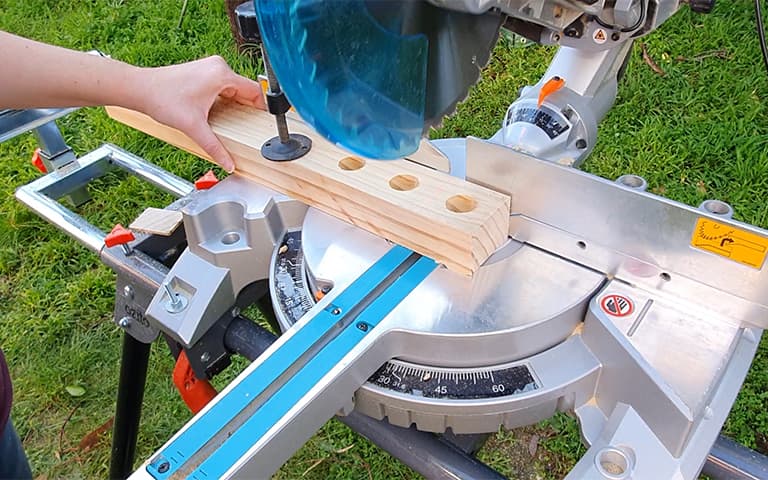
Step Three: Cut it
Cut your timber into individual pieces, making sure to have 1 hole per piece. You can use a drop saw or a hand saw to get this job done.
Step Four: Sand it
Get the kids to sand their planters on every side. Any sandpaper is fine, but for a super smooth finish, use 80 grit followed by 120 grit. Safety gear is advised for the little ones while at work.
For little hands: Place a piece of sandpaper on the table and slide the planter along the sandpaper.
For bigger hands: Wrap the sandpaper around a small block and use it to sand each side of the planter.
Make sure you clean off any sanding dust and then the kids are ready to get coating.
Step Five: Coat it
Grab the kid’s favourite choice of Stain and Varnish colour. The examples shown are Liming White Stain & Varnish, Black Japan Stain & Varnish, and Oak Prooftint, however, any colour in the Feast Watson range will look amazing.
Get the kids to stir the pot and dip their paintbrush in and coat all sides, top and bottom of their planter. If you want a richer finish, let the coat dry and apply another coat. Leave the stain to dry overnight.
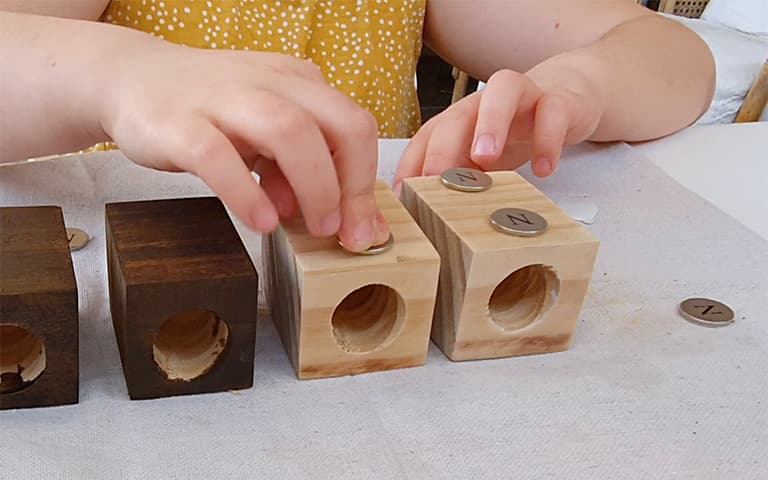
Step Six: Stick it
Grab your strong self-adhesive magnets with stickers on the back. Stick two adhesive magnets on the back of each planter. Let these settle in for a few hours before testing their adhesive power on the fridge.
Step Seven: Plant it
Get the kids to fill each hole with a little potting mix and pop their choice of plant in each planter. Put some water in for the plants to thrive and make sure you give your plants a bit of water every now and then to keep them alive.

Step Eight: Enjoy!
Find the perfect spot to stick your planters. You can pop them on the fridge, a magnet board or in the bathroom or laundry.
Maintain their timber-stained look by recoating as needed. Water the plants regularly and you can even replant with different plants as your tastes change.
Intermediate