IKEA laptop table hack
IKEA laptop table hack
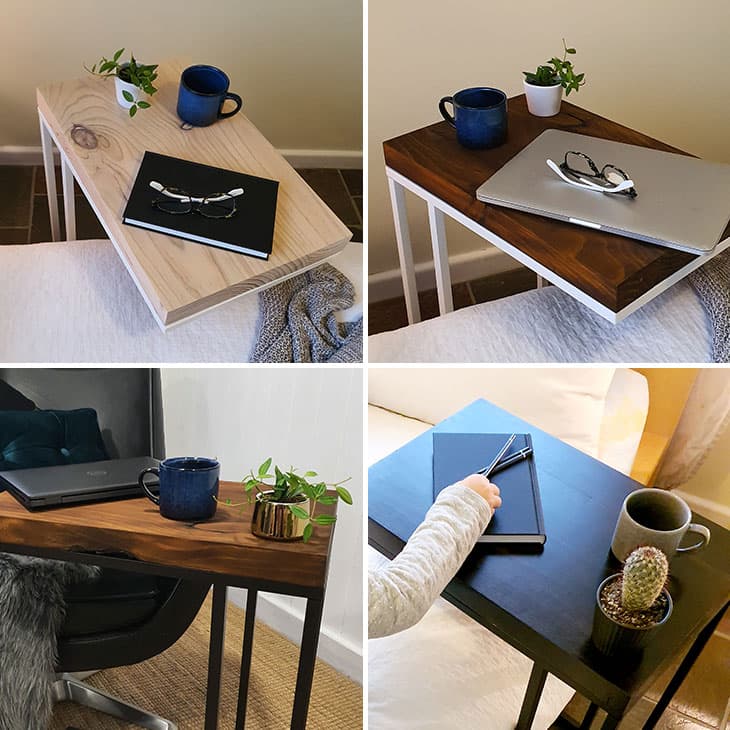
A portable laptop table is a simple solution that helps create a flexible and practical workspace anywhere you choose. Building your own laptop table is easier than you may think and Feast Watson’s range of Stain and Varnish allows you to select the perfect colour and finish, tailored to your style and existing space.

What you'll need


Feast Watson Stain & Varnish


Paintbrush or mini paint roller


Vittsjo Laptop stand in either black or white
Qty
1
1.5m of 290mm x 45mm Pine
Biscuits or Dowels
350mm clamps
Wood Glue
A drop saw (or hand saw)
A biscuit saw or drill bit
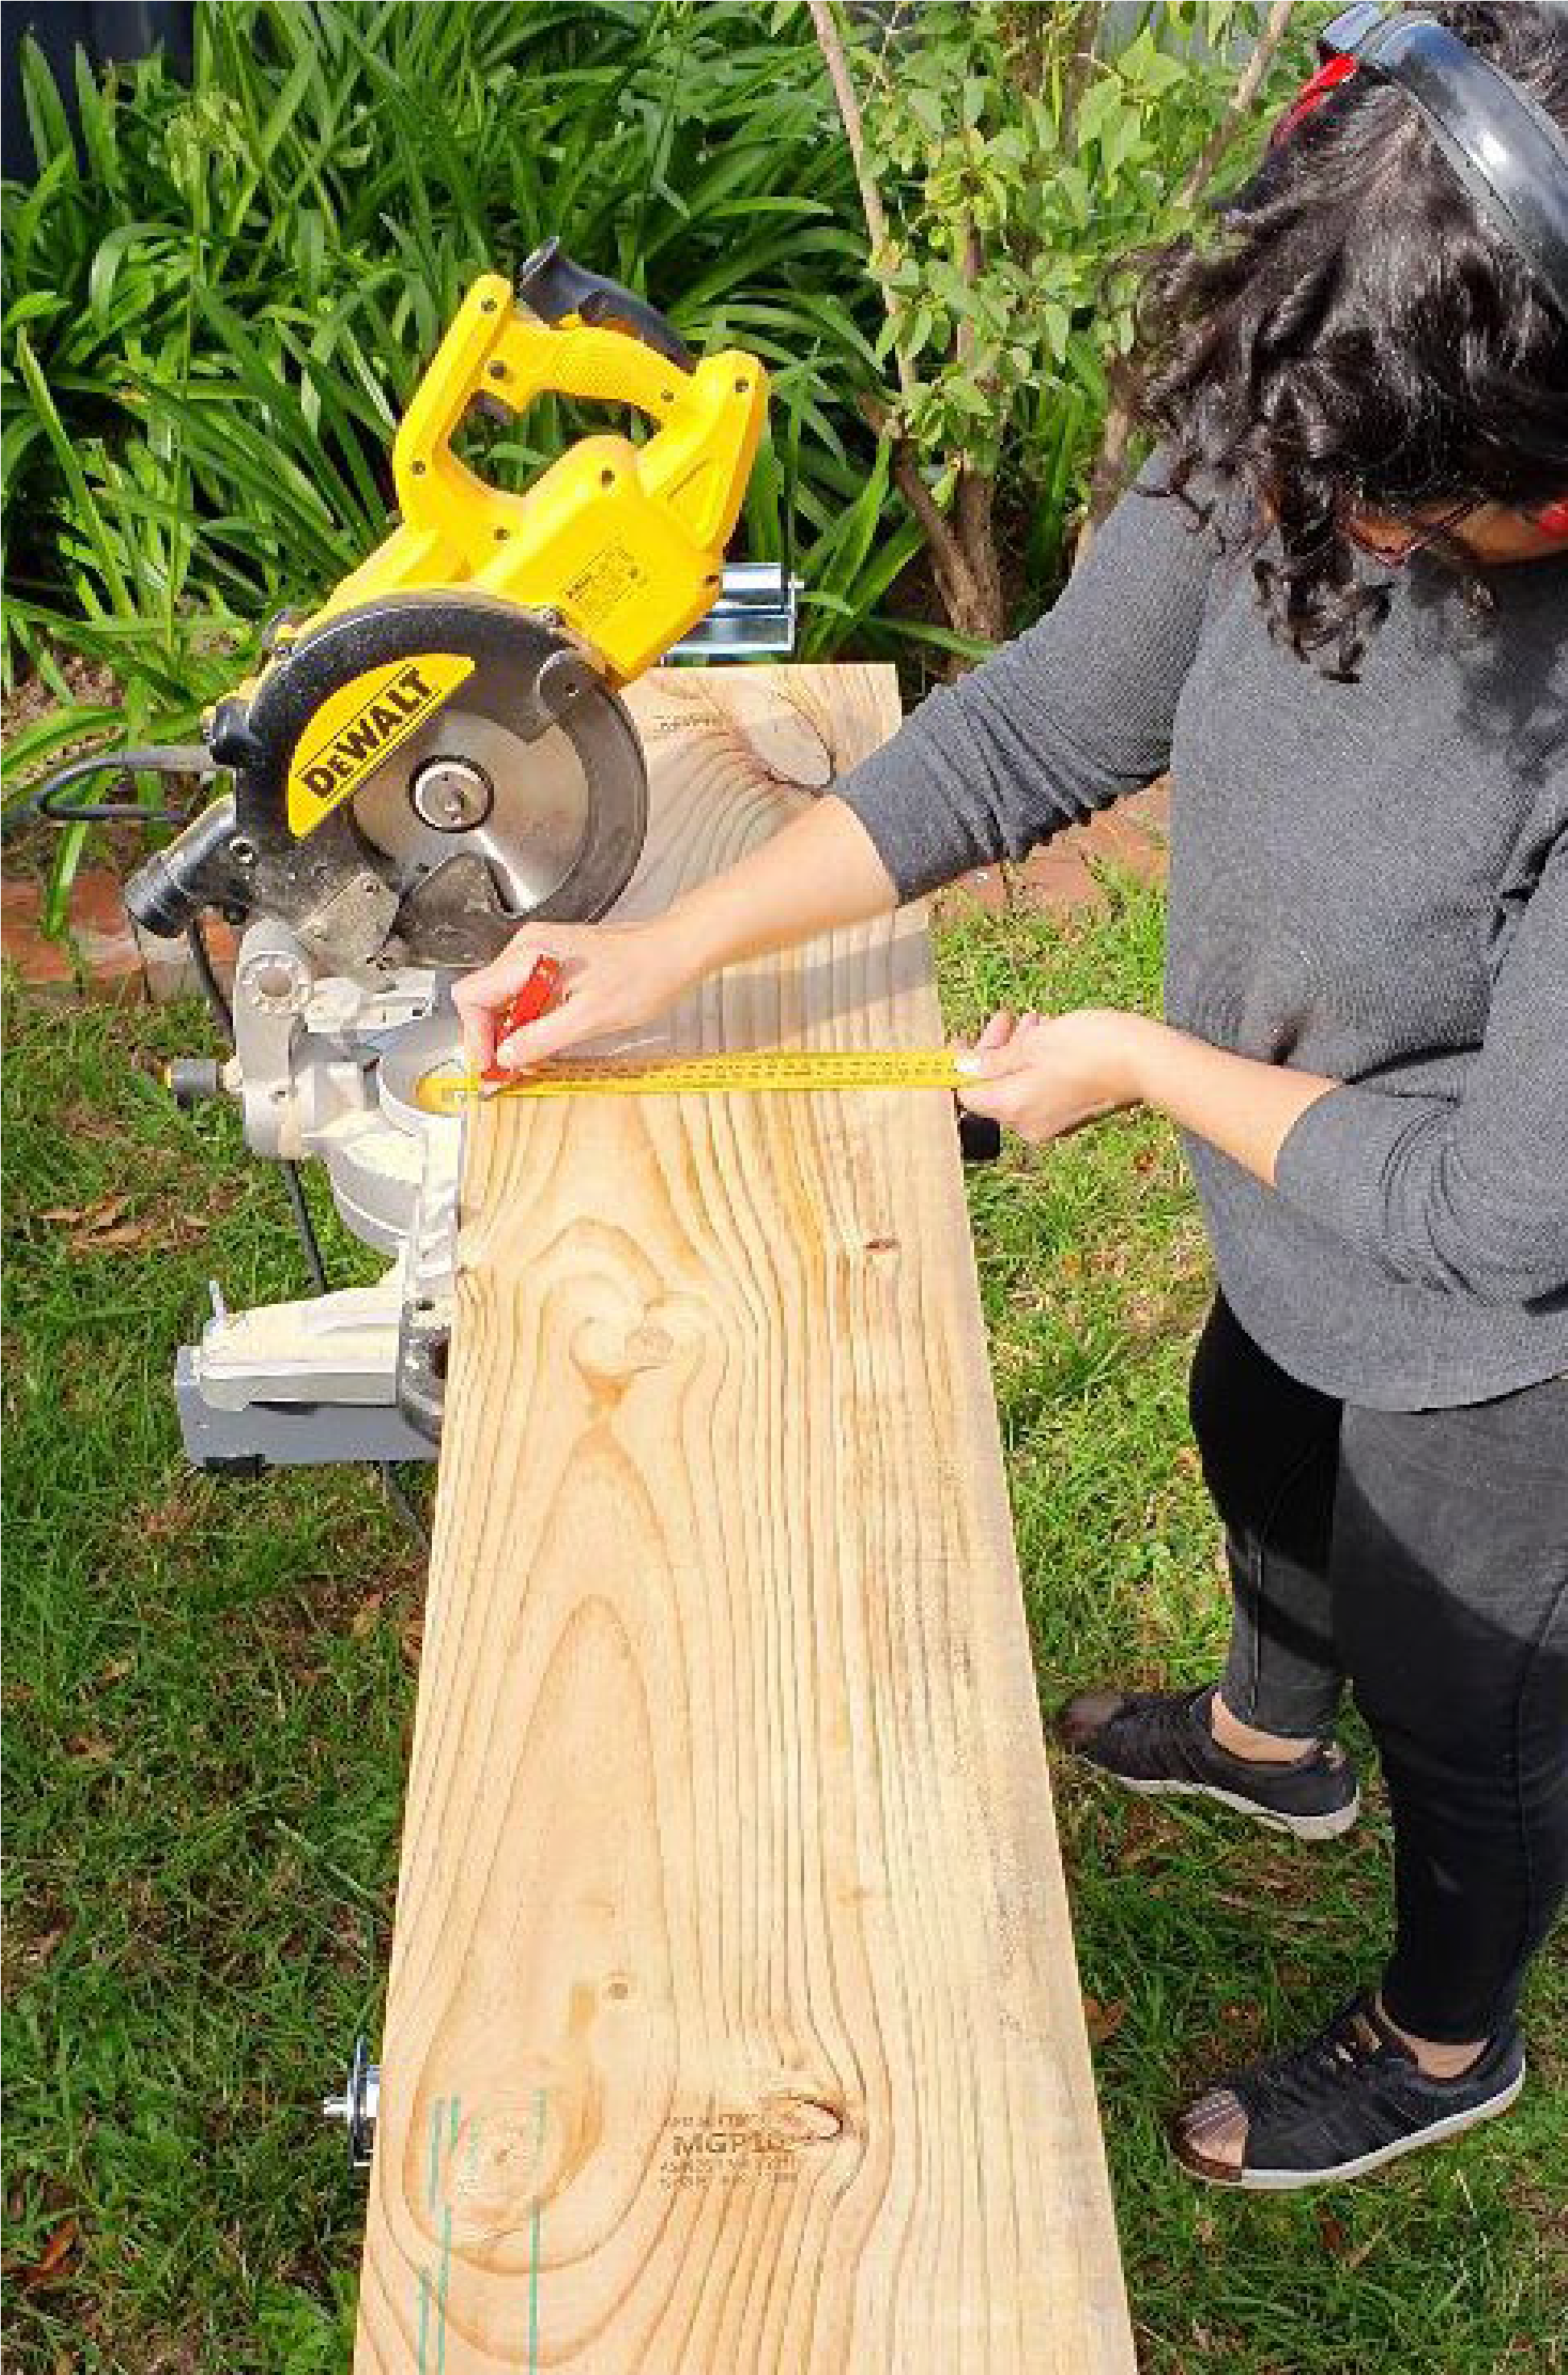
Step One: Mark and cut
The top of the stand is 350mm x 550mm, so you need to cut your timber according to these lengths. You may choose to combine two pieces of wood (for example if you are using off cuts or want to keep a natural knot in the timber you have chosen).
Use your drop saw or hand saw to cut the wood to size.
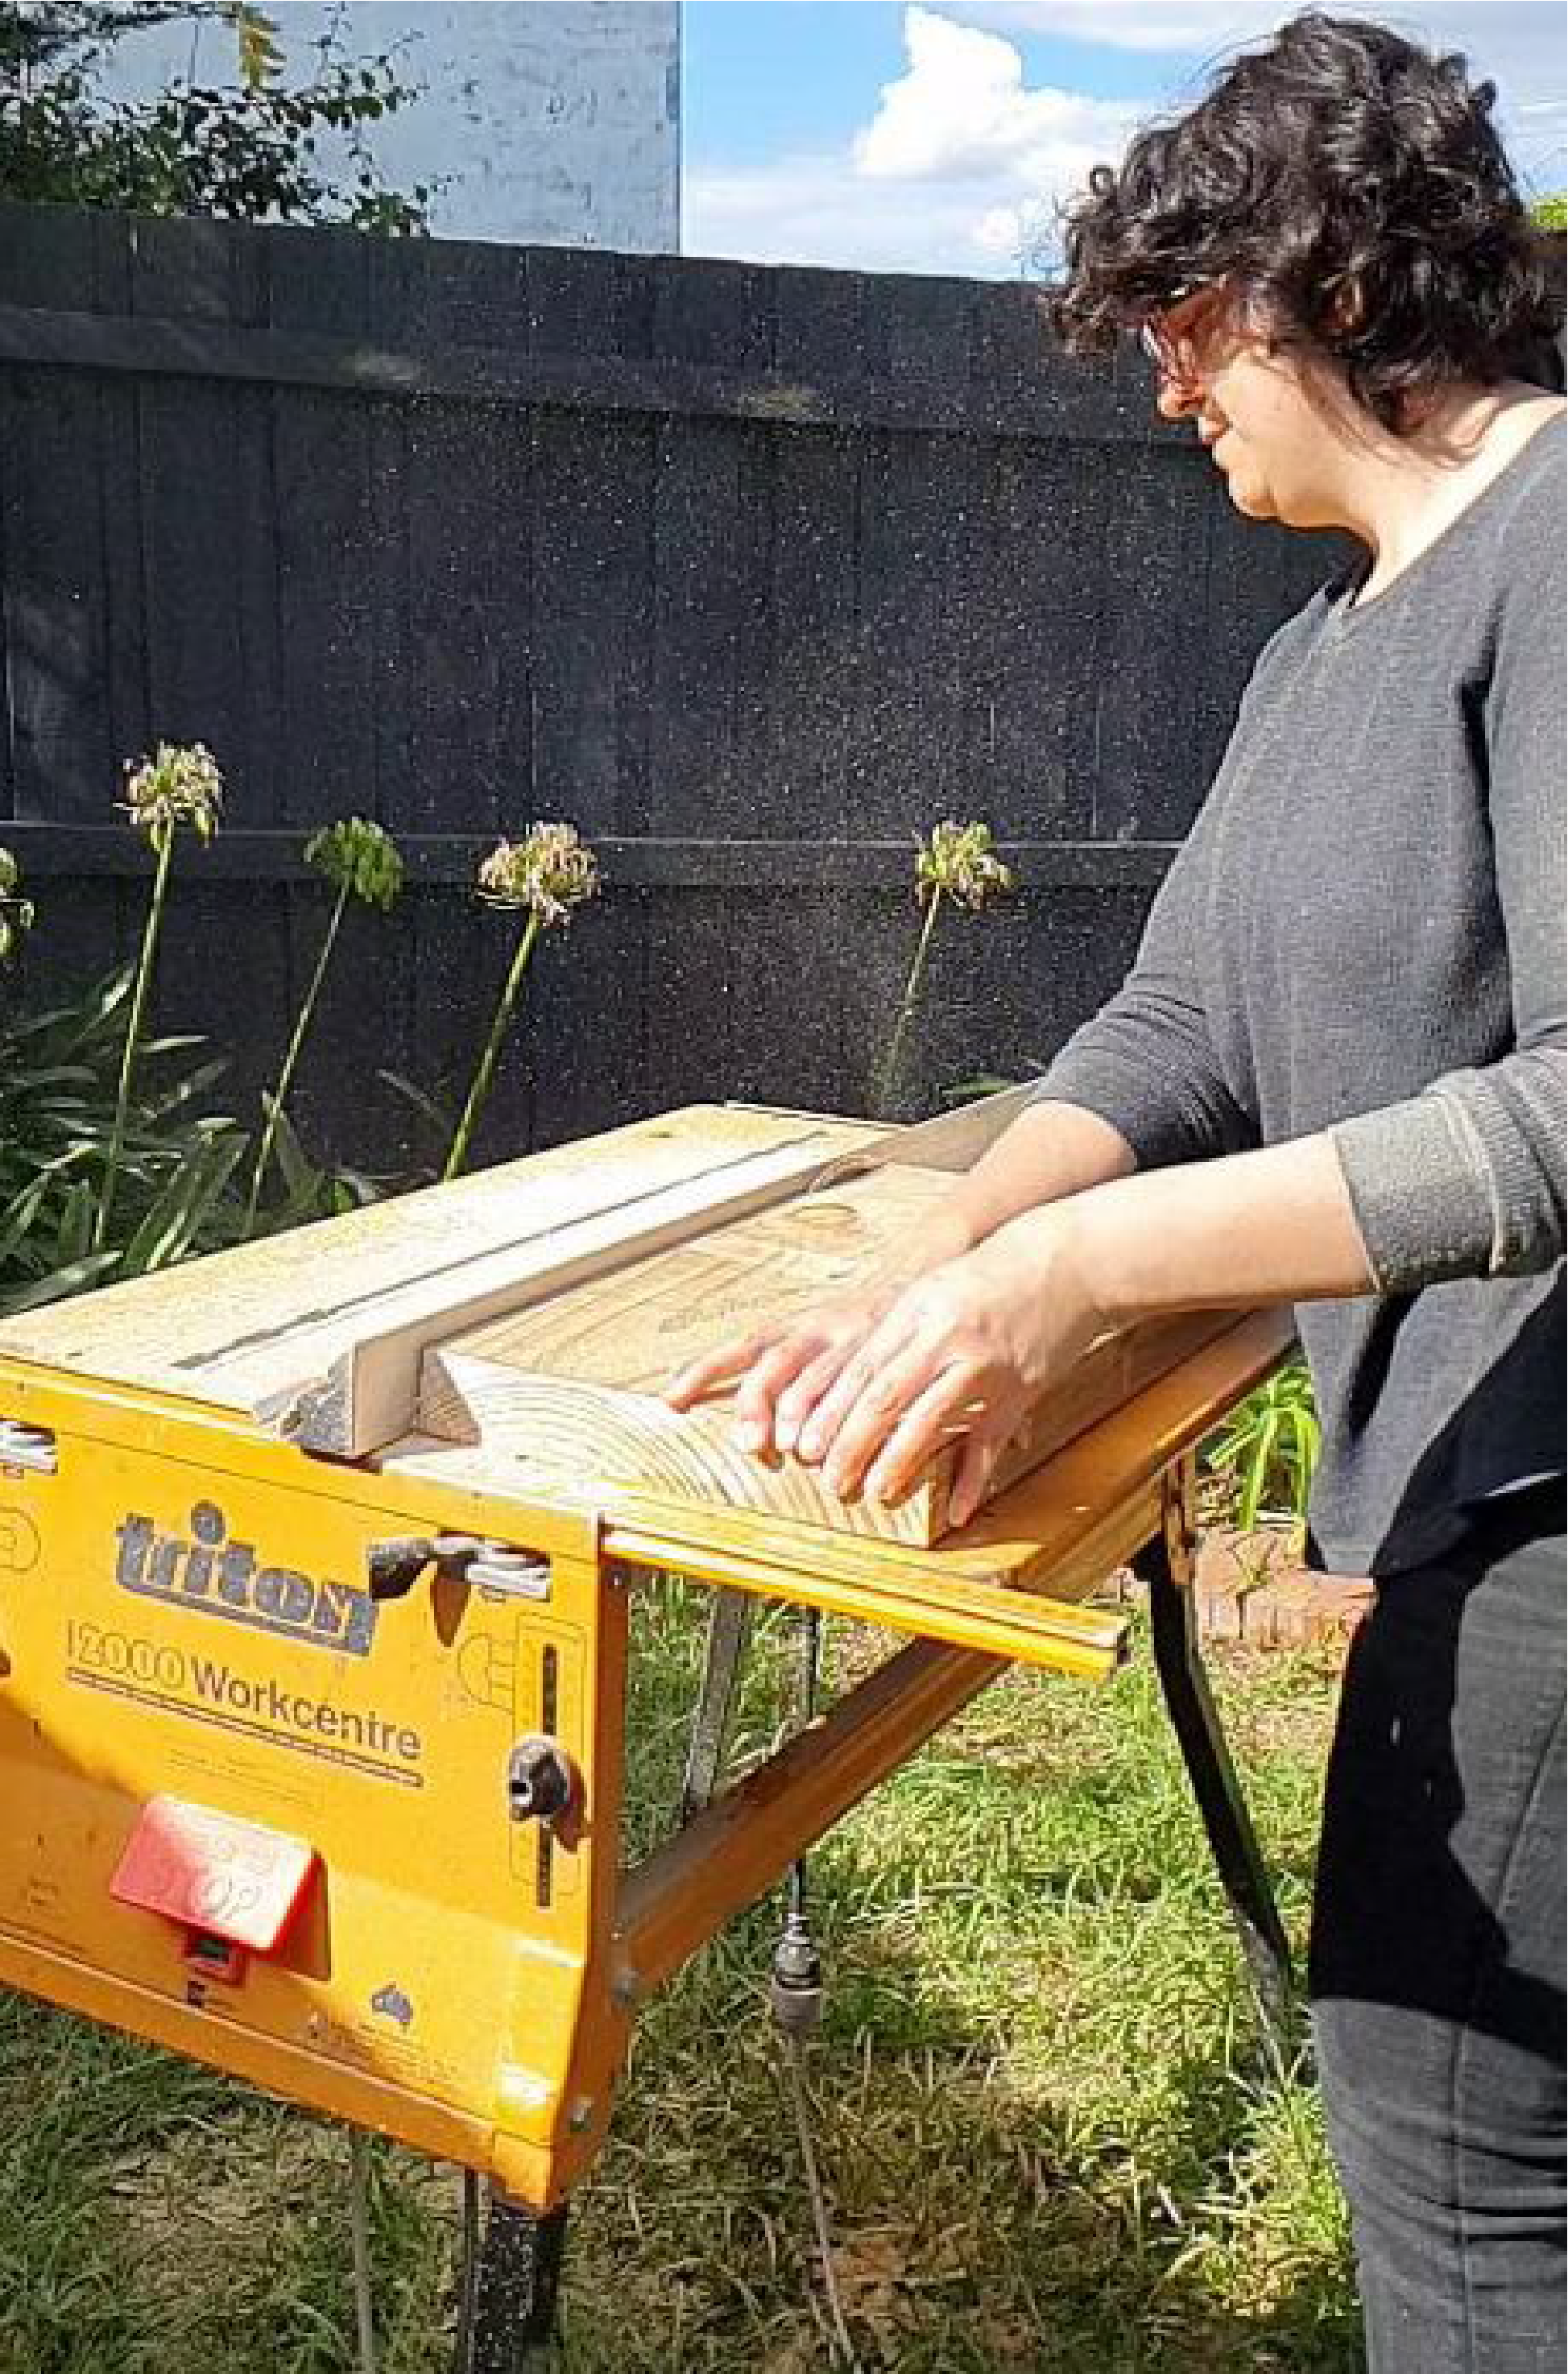
Step Two: Square it
Square off the edges using a table saw or hand saw.
If you used two separate pieces of timber, you will need to square off the edges of each piece using a table saw or hand saw.
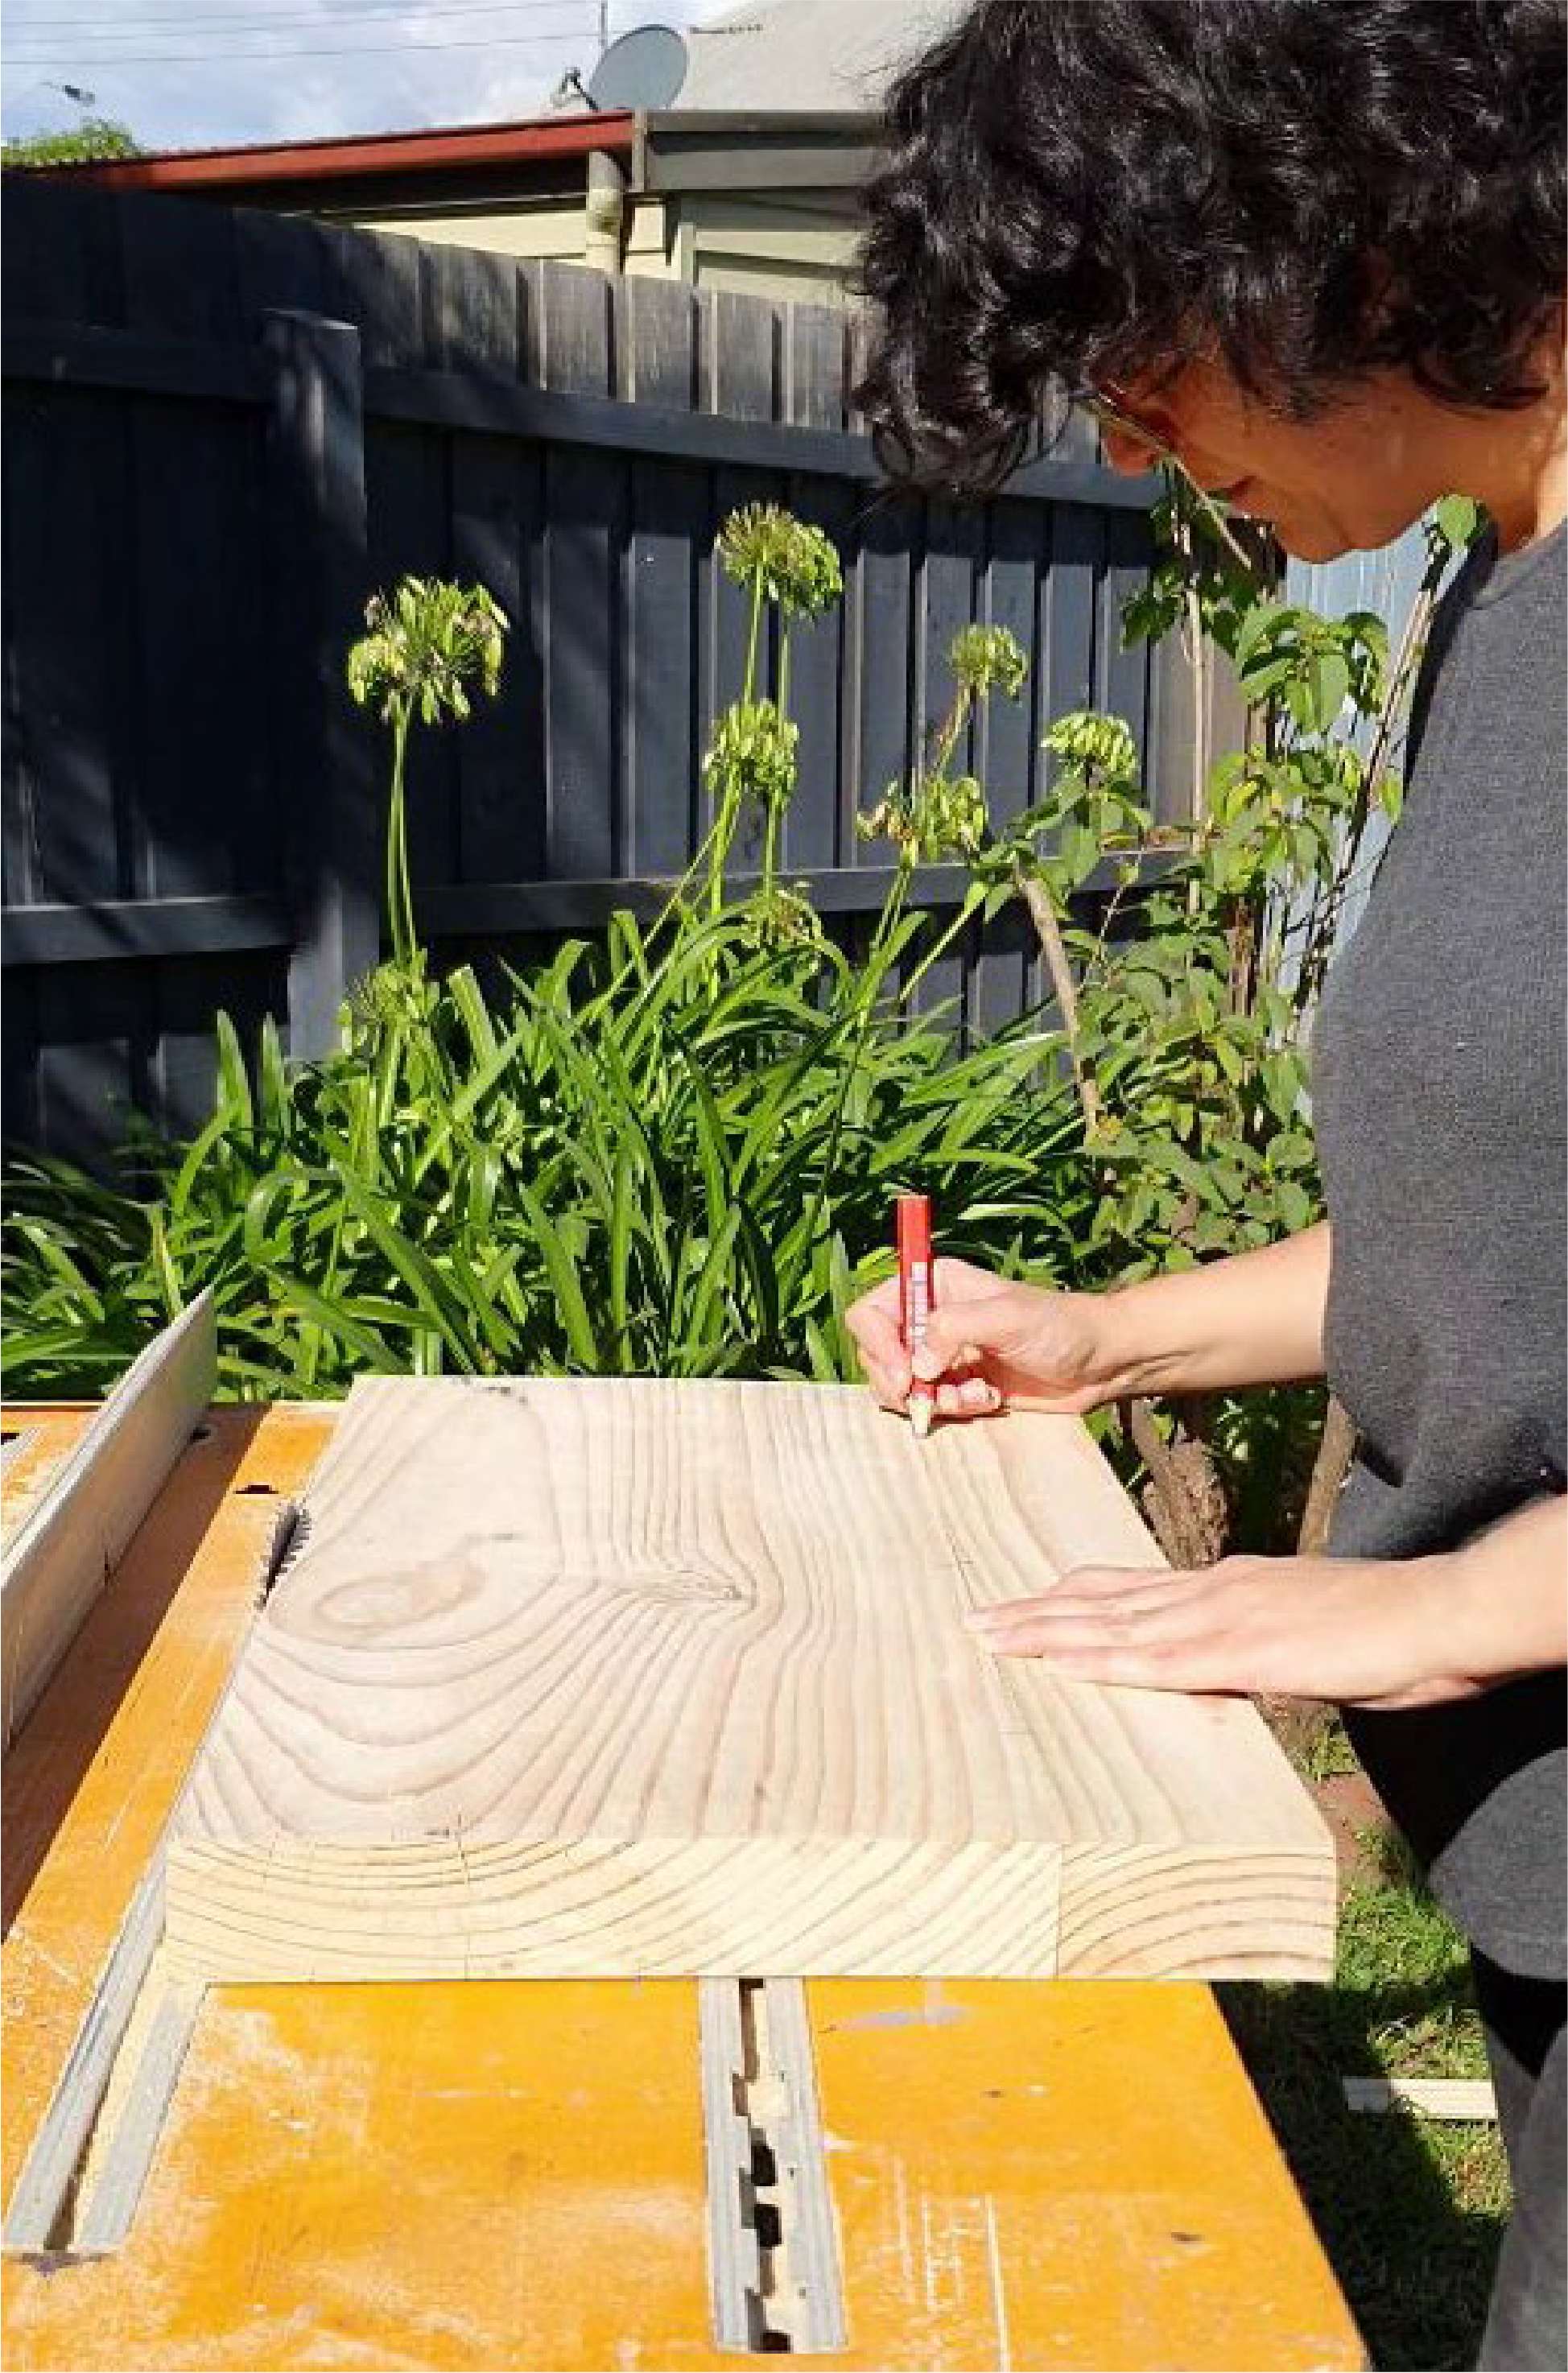
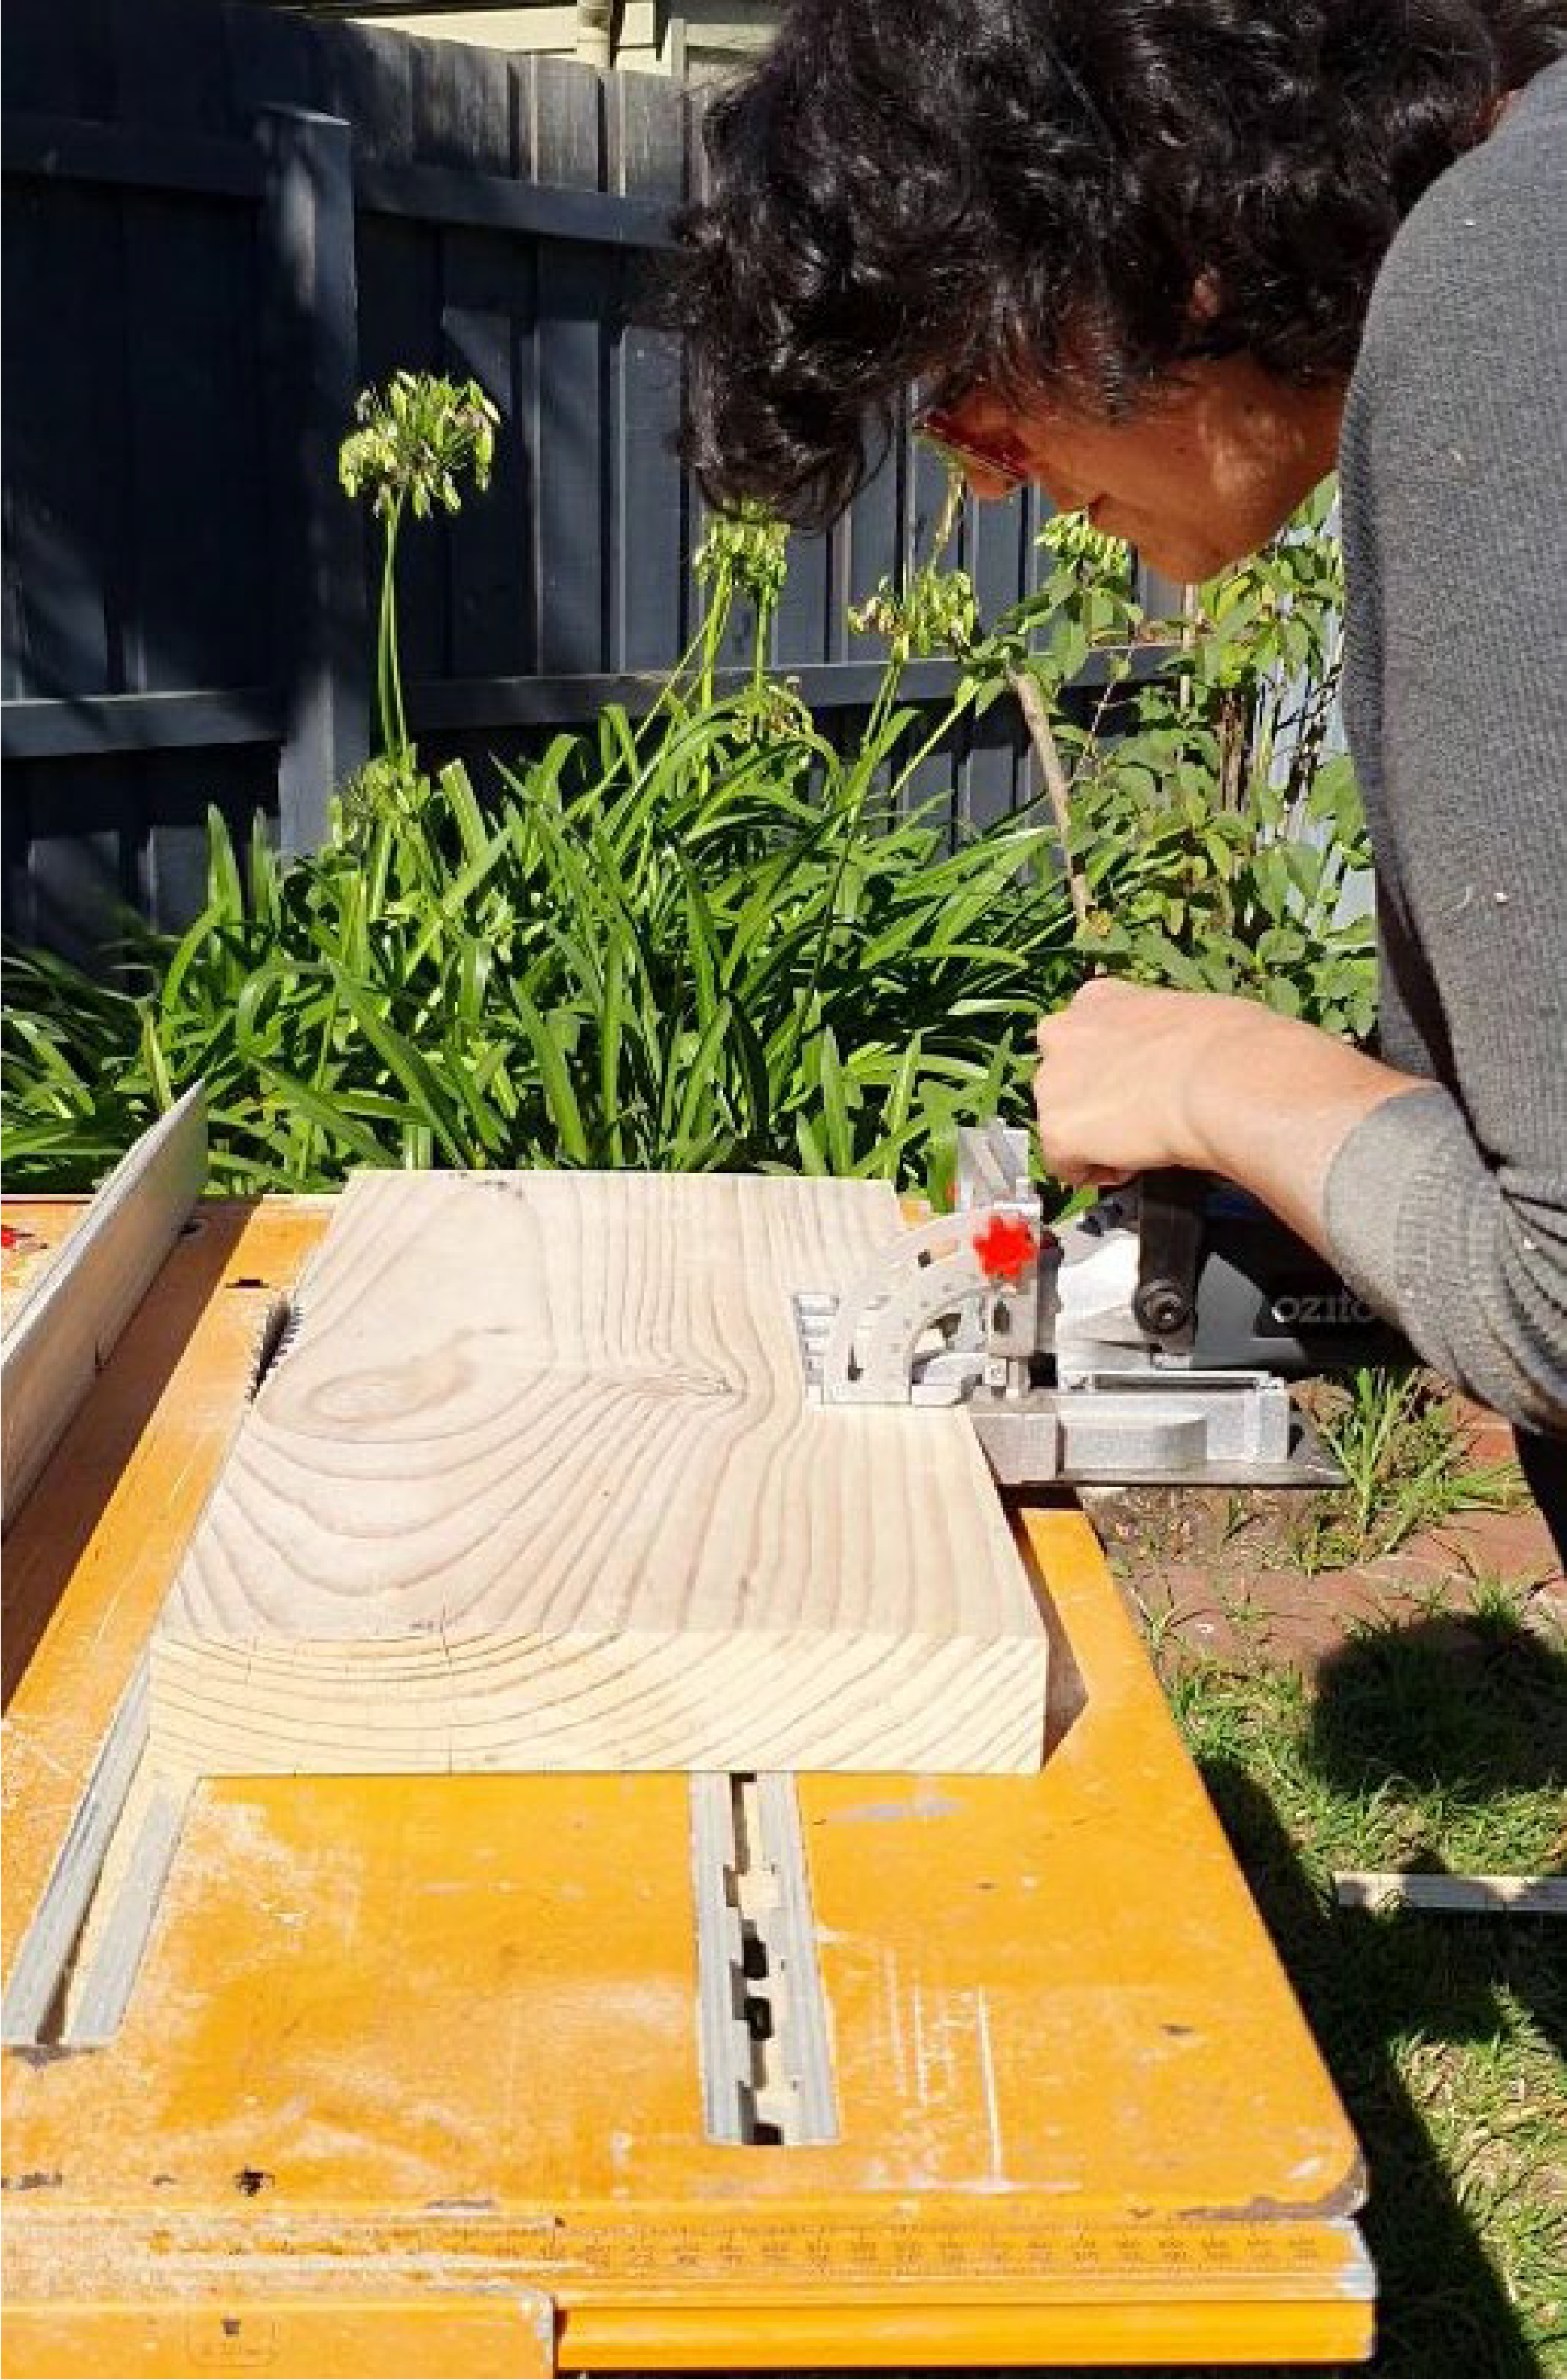
Step Three: Mark it
Put the two pieces together and pencil three marks on the joining edge of pieces 1 and 2.
Step Four: Cut it
Using a biscuit cutter, line up each mark and cut into the joining side of pieces 1 and 2. If you don’t have a biscuit saw you can drill holes and use dowels instead.
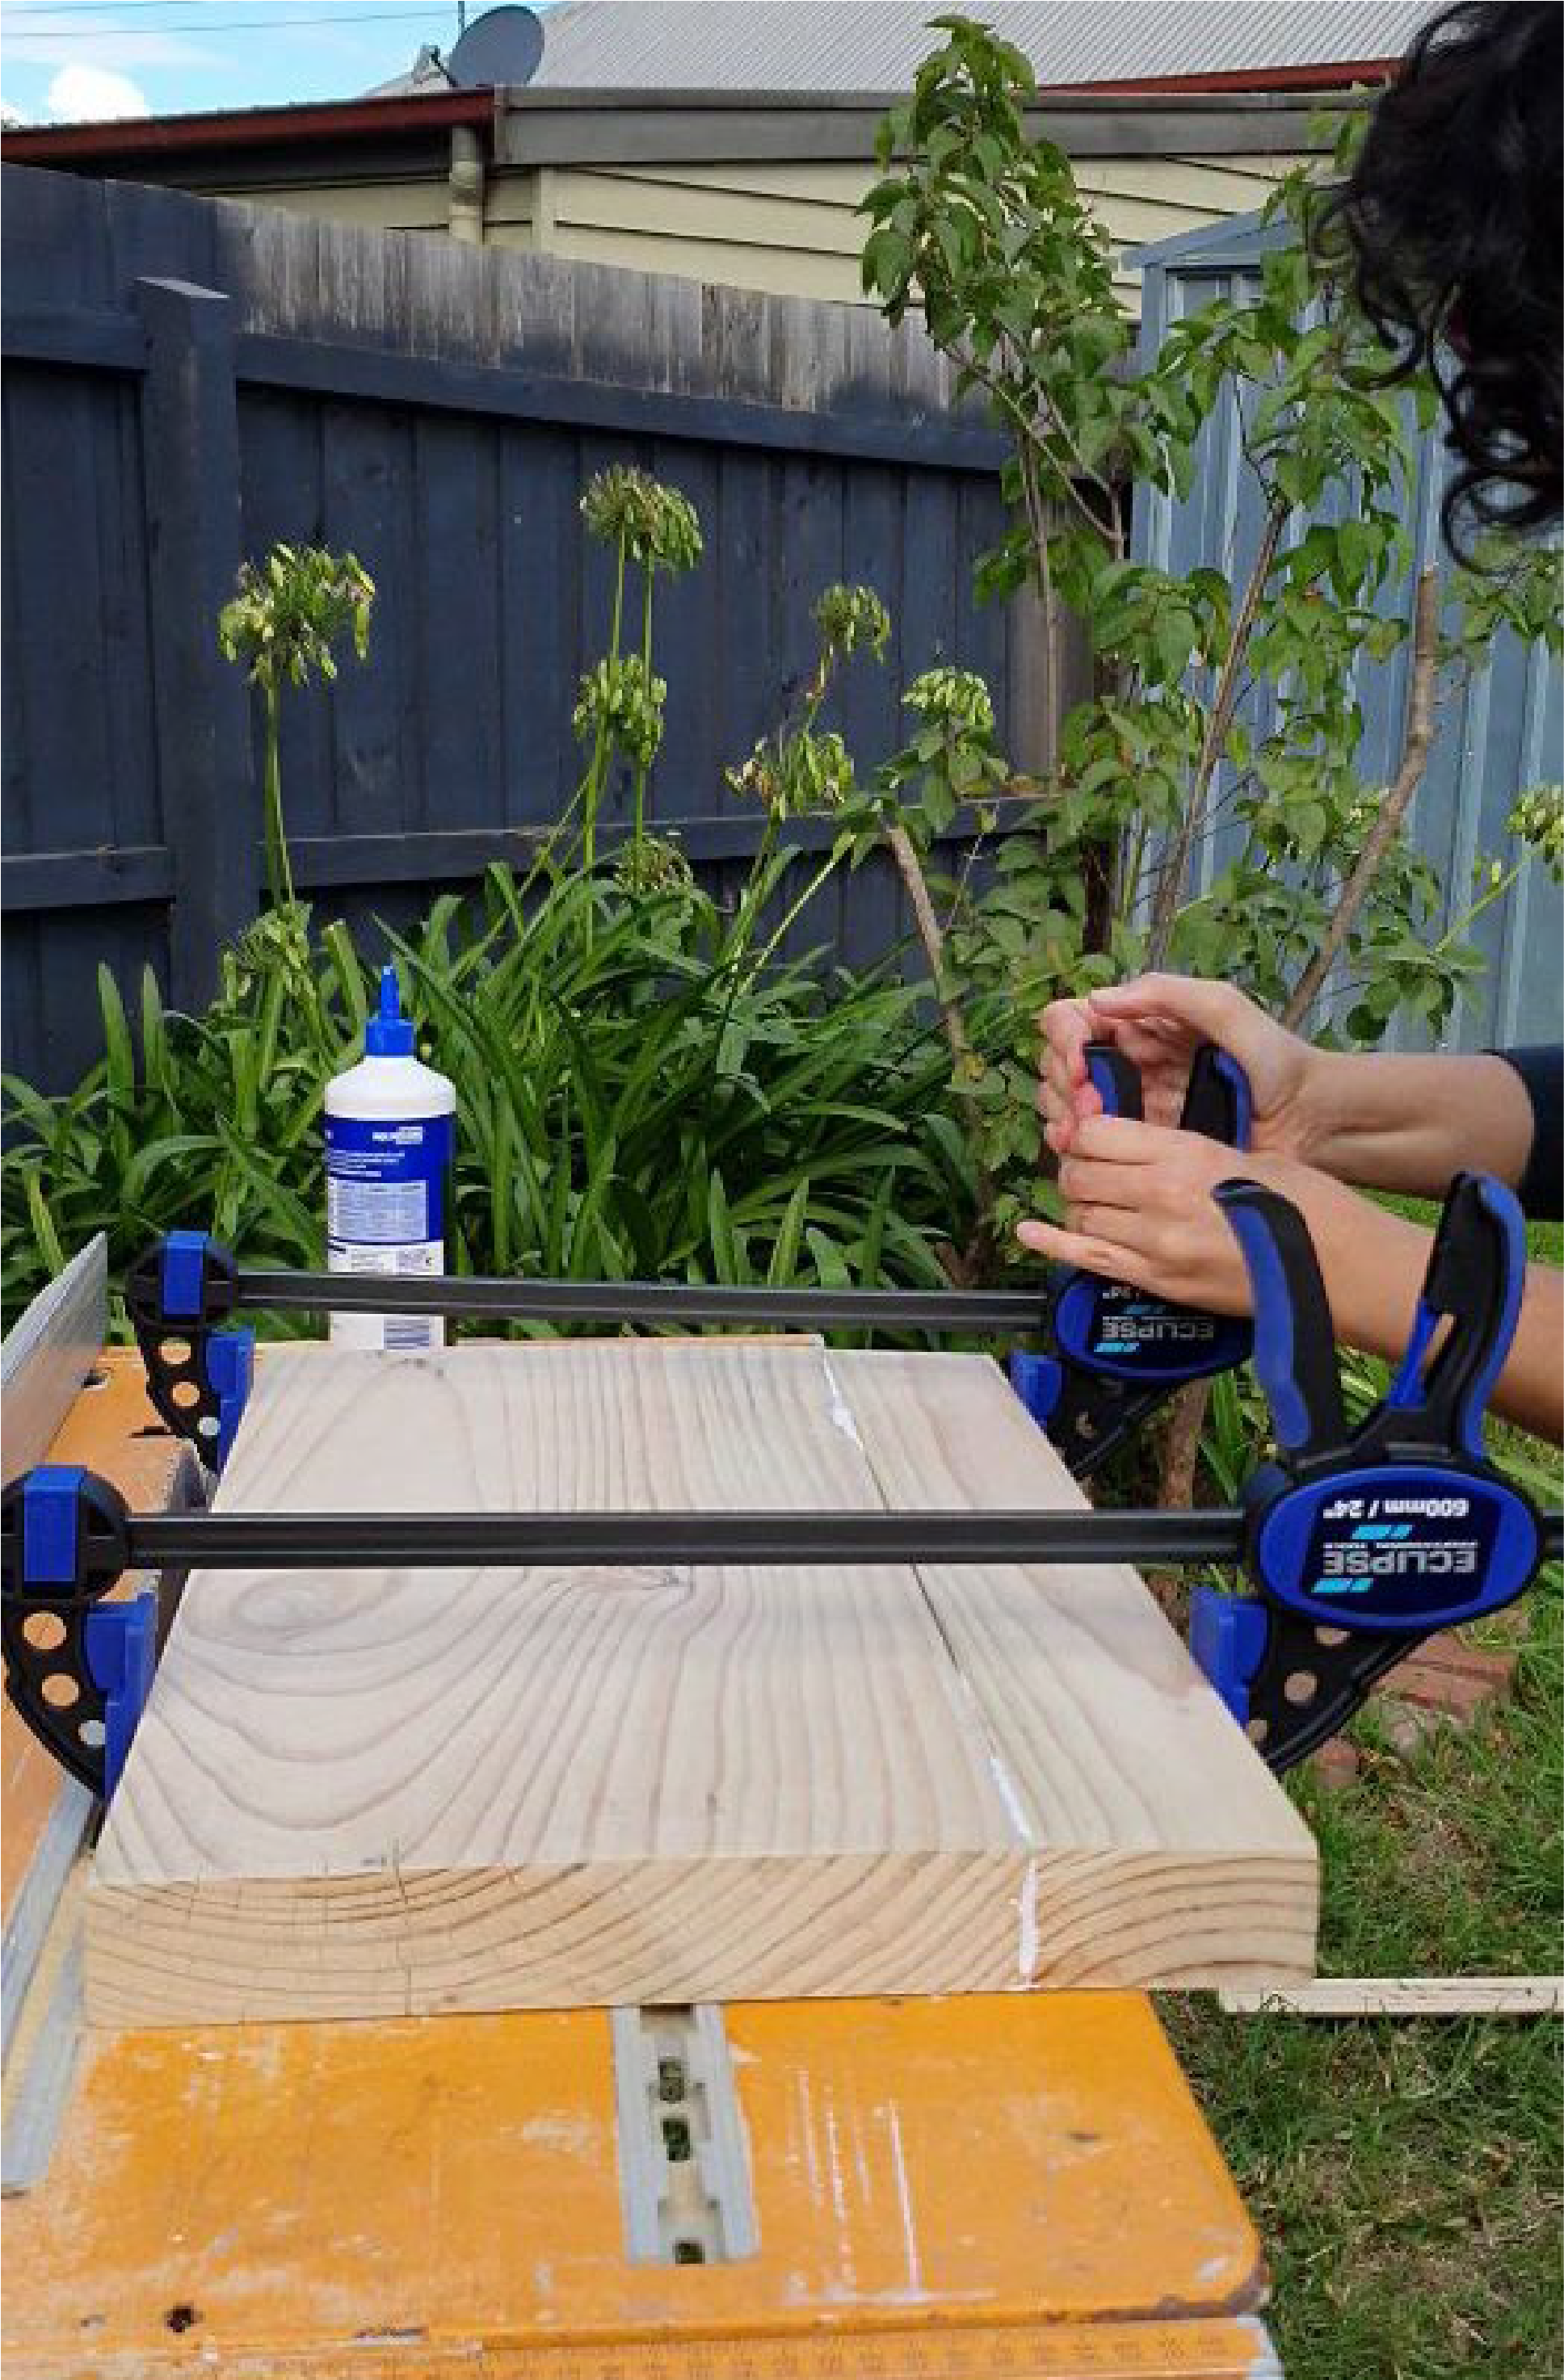
Step Five: Glue it
Glue the joining edge and put 1 biscuit in each hole.
Join both timber pieces together and clamp overnight to dry. Use saw dust mixed with glue if you find any gaps in between the timber pieces.
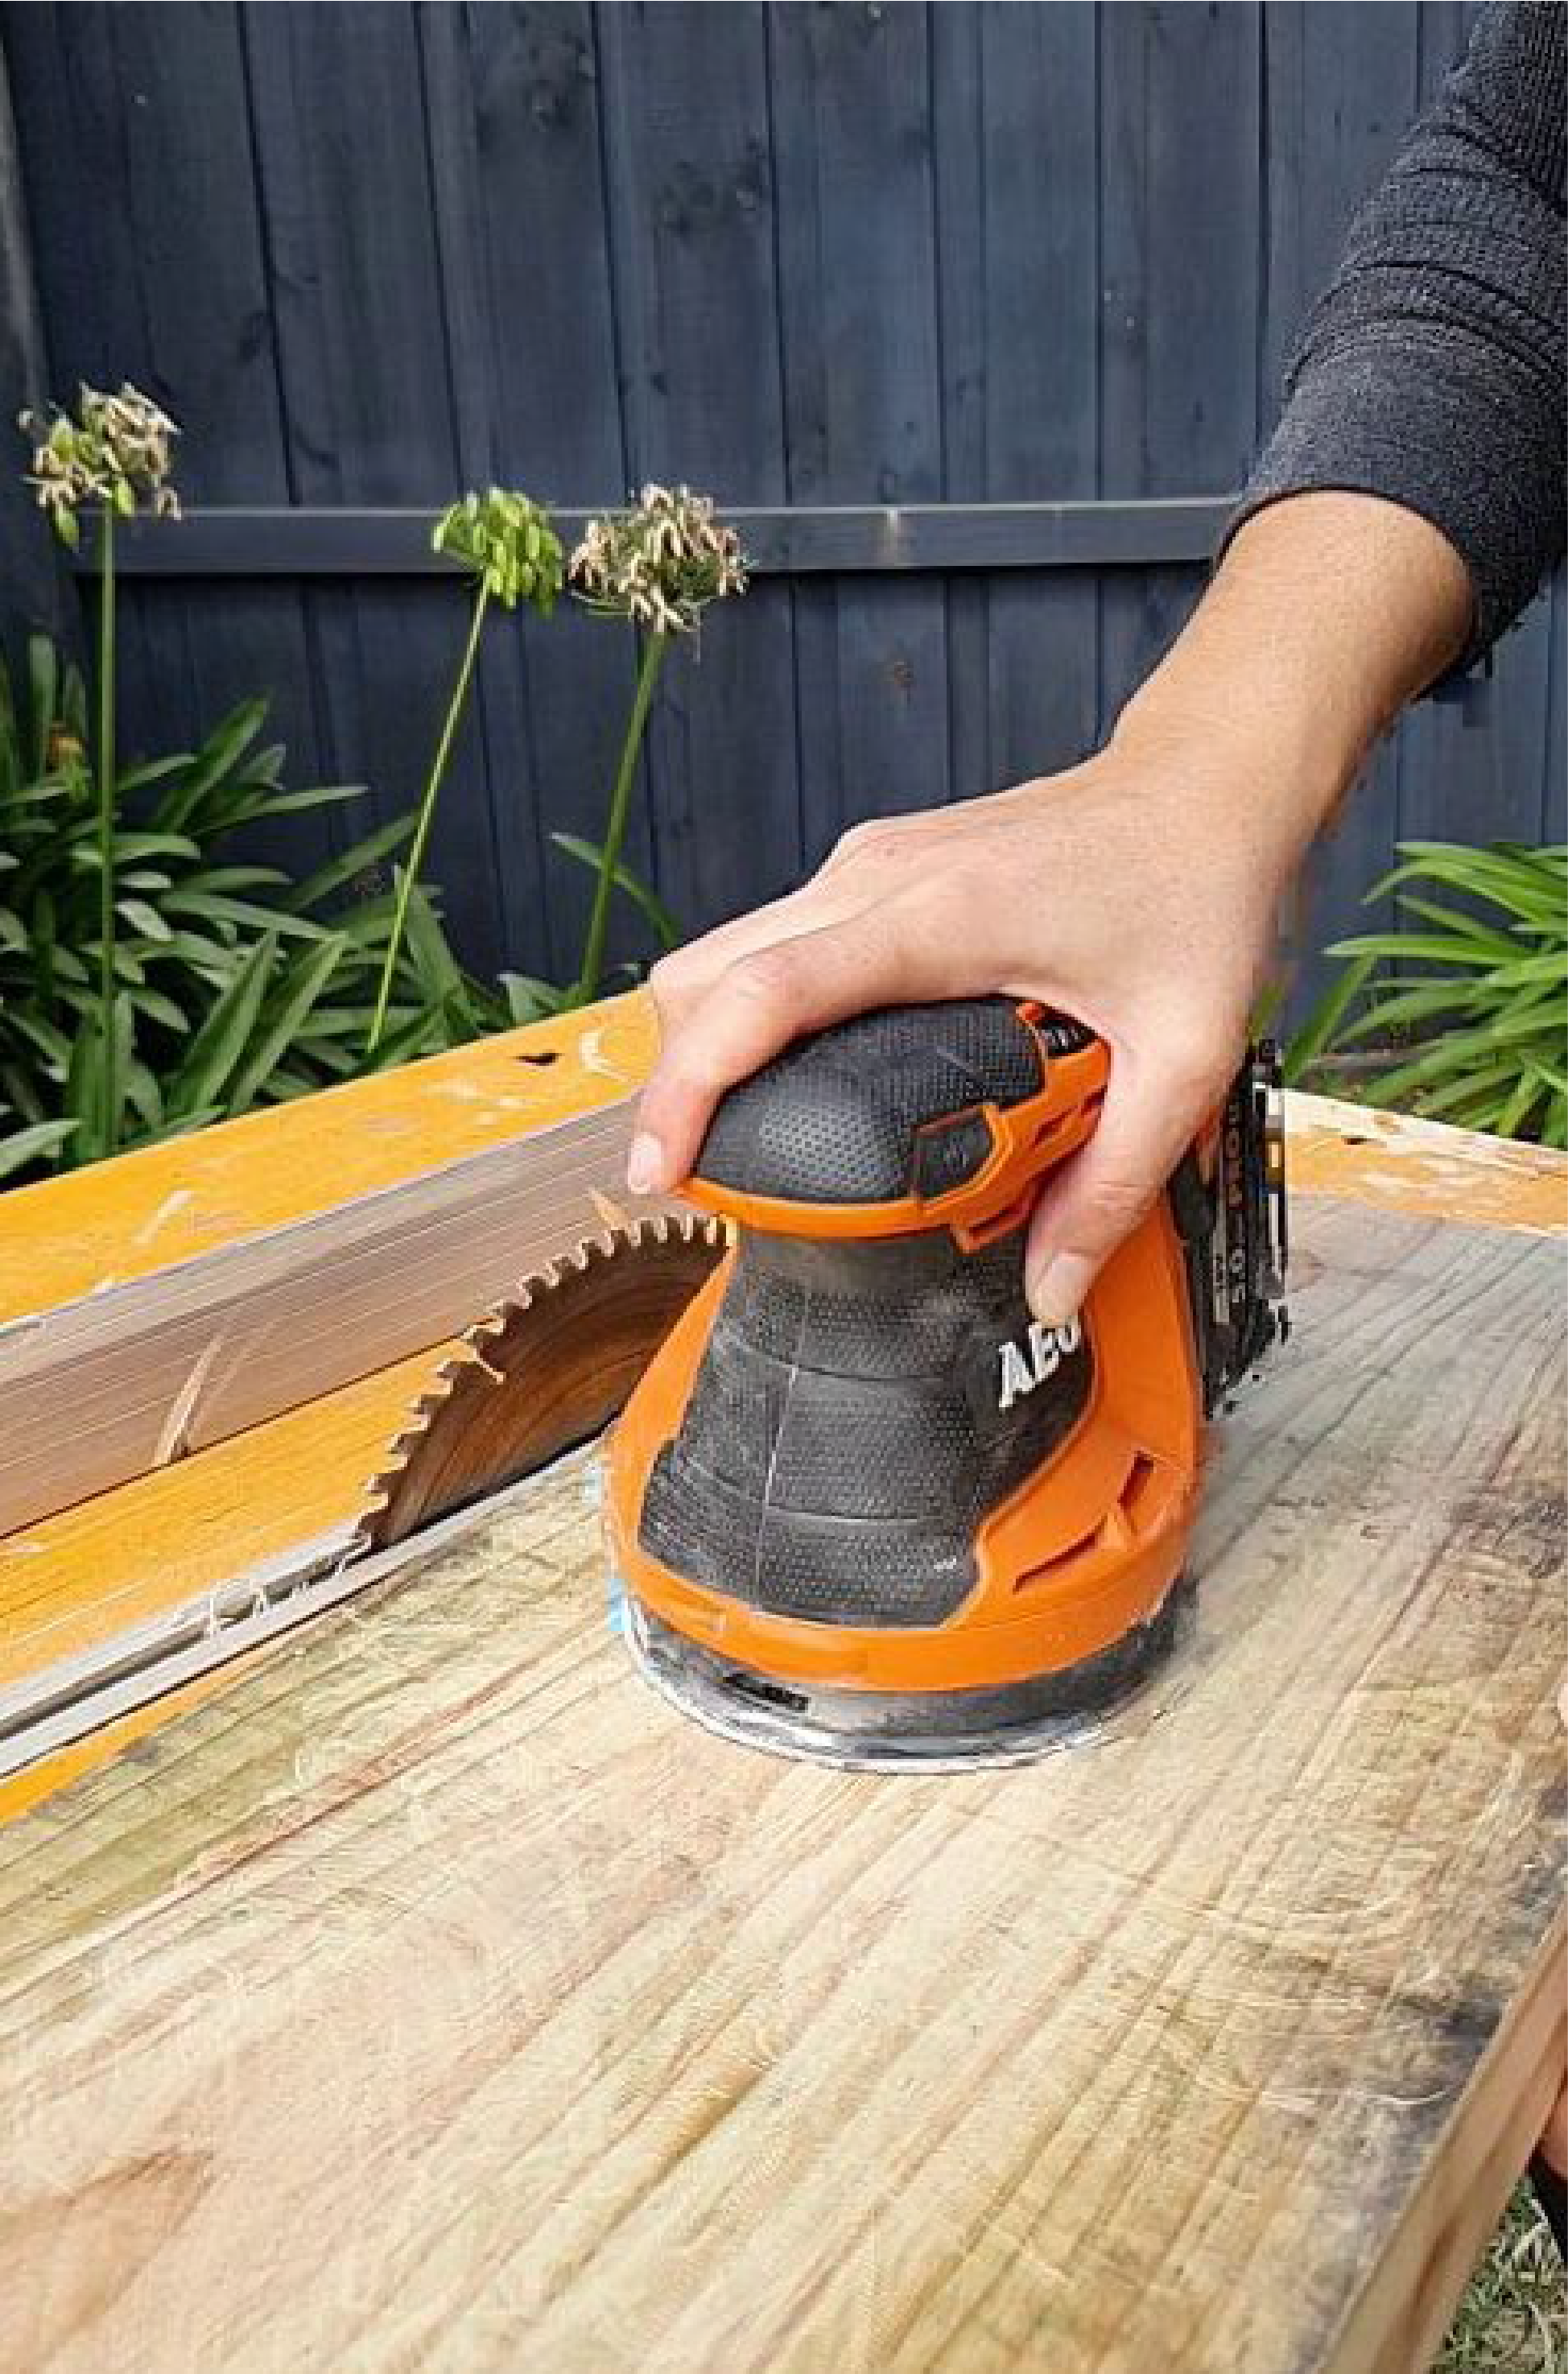
Step Six: Sand it
Using either an orbital sander or sandpaper and sanding block, sand every side and edge to a smooth finish. Start with 80 grit to take off any glue and rough edges. Then use 120 grit sandpaper to smooth the surface ready to coat.
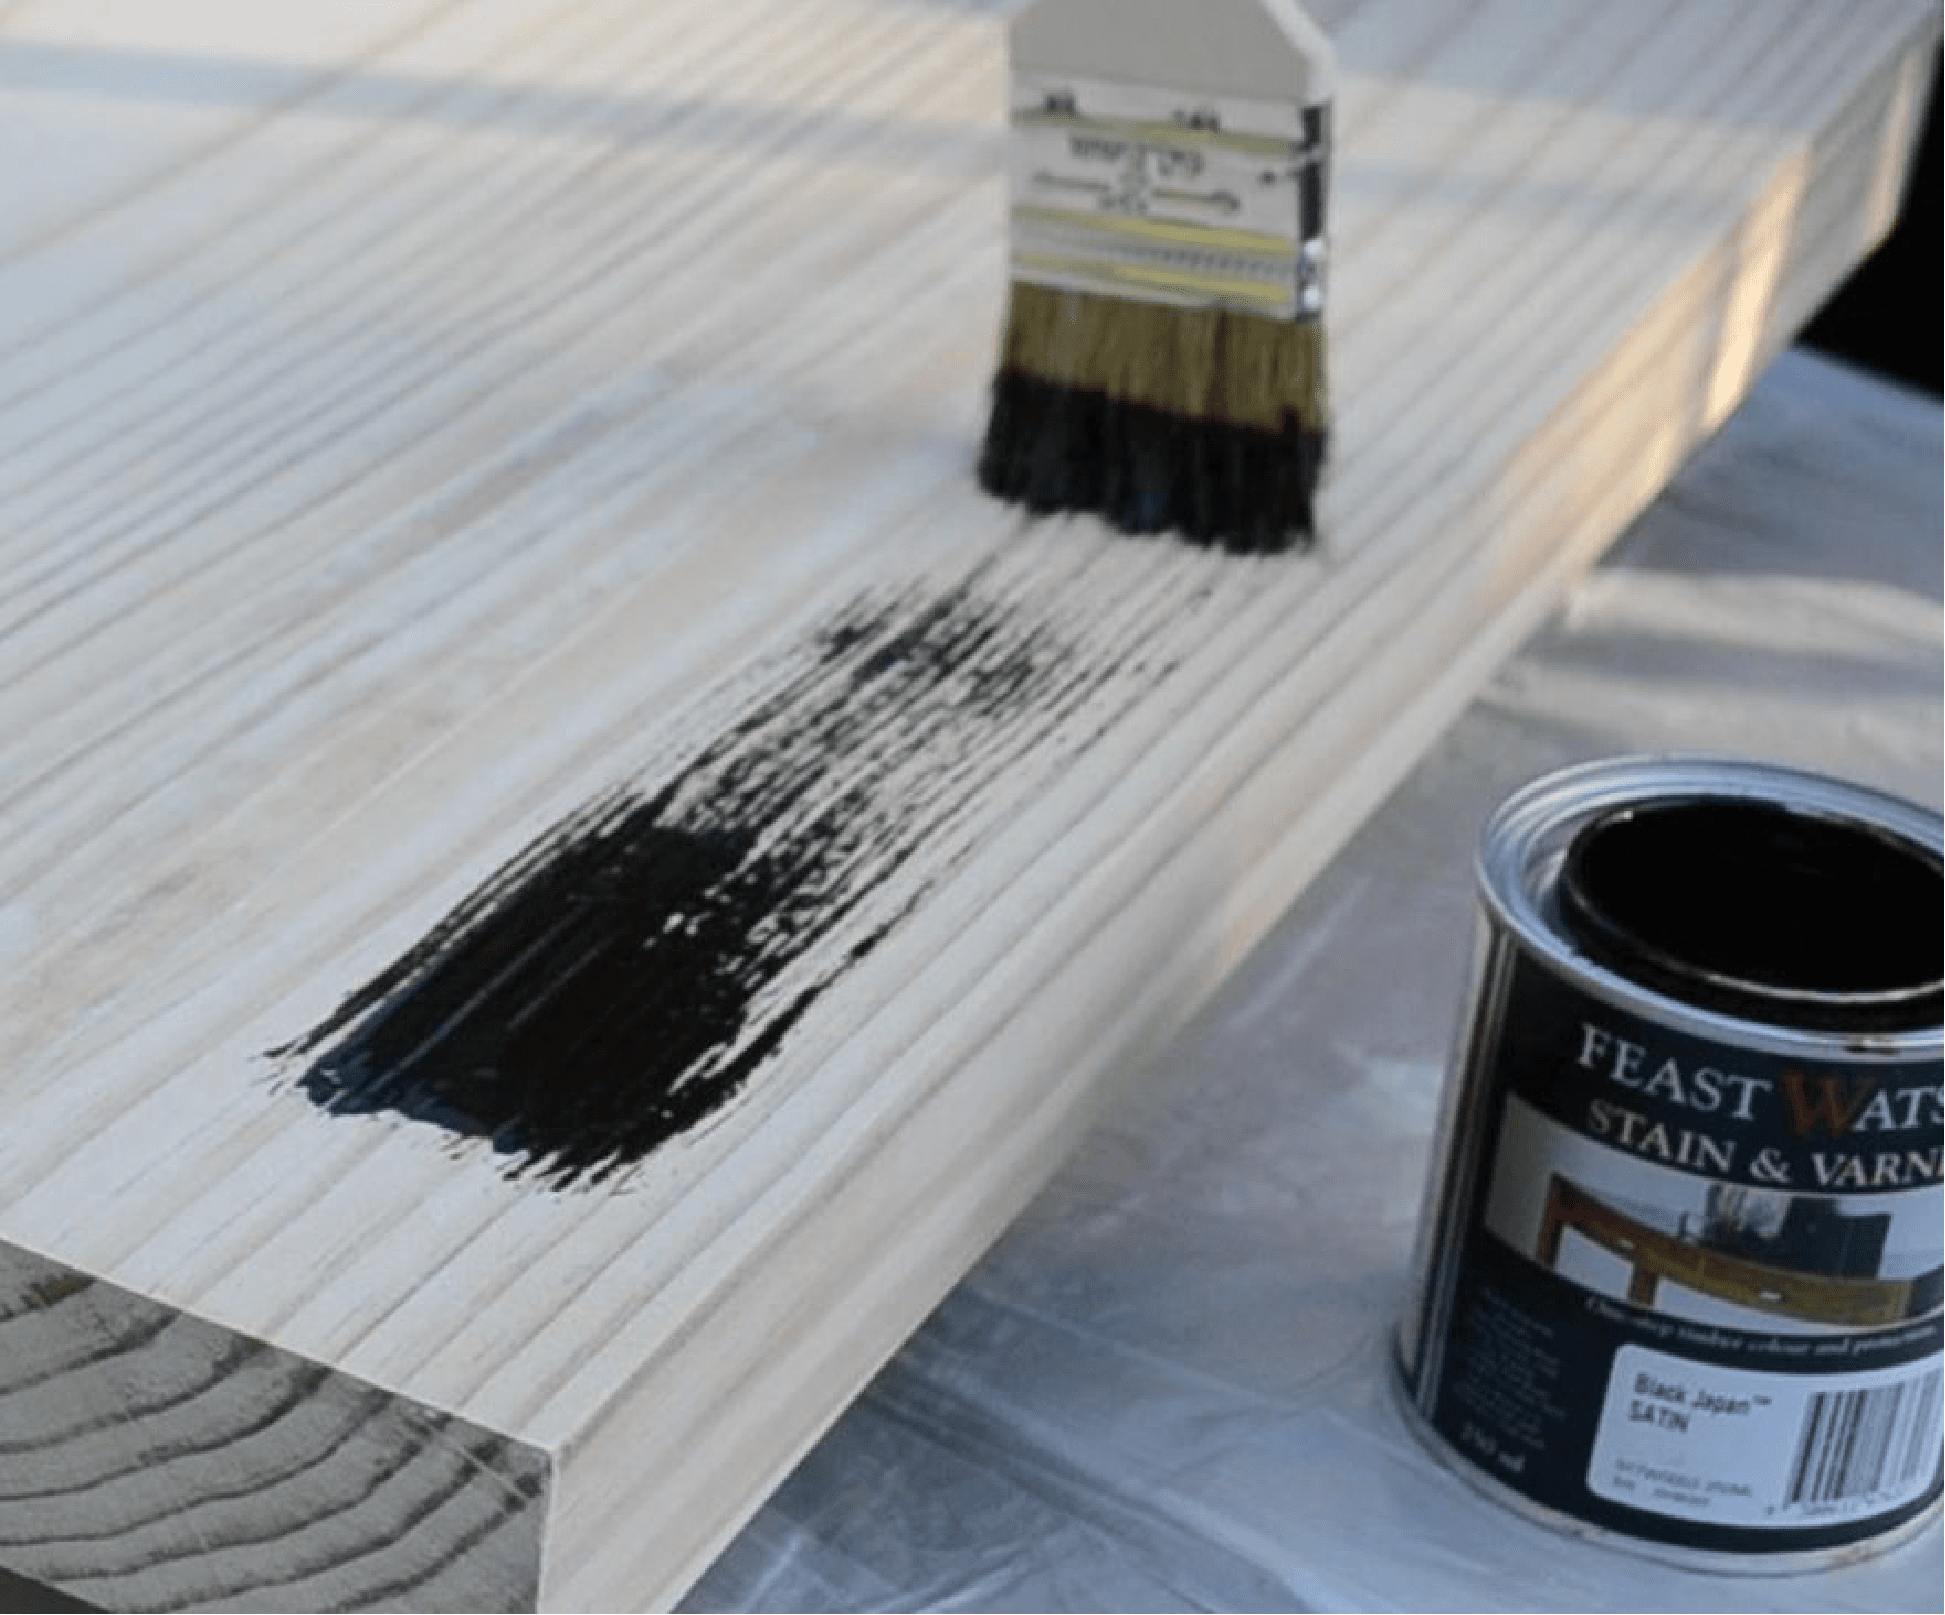
Step Seven: Coat it
Grab your pot of Feast Watson’s Stain and Varnish. Dust off your timber, stir the pot with a flat stirrer, and pour into a roller tray. Coat your timber with one coat. Allow to dry overnight. Use 240 grit sandpaper to lightly sand between coats. Add a second coat of Stain and Varnish. Allow to dry overnight before assembling the finished product.
To Finish!
Remove the glass top from the Vittsjo stand. Attach your stained timber table top to the stand using four screws (the size of these will depend on the thickness of your timber).
Maintain your new piece of furniture with the same look by re-staining and varnishing every 12-18 months, or completely change the look of the table top by sanding it back and choosing another great colour in the Stain and Varnish range.
Related Guides
Beginner
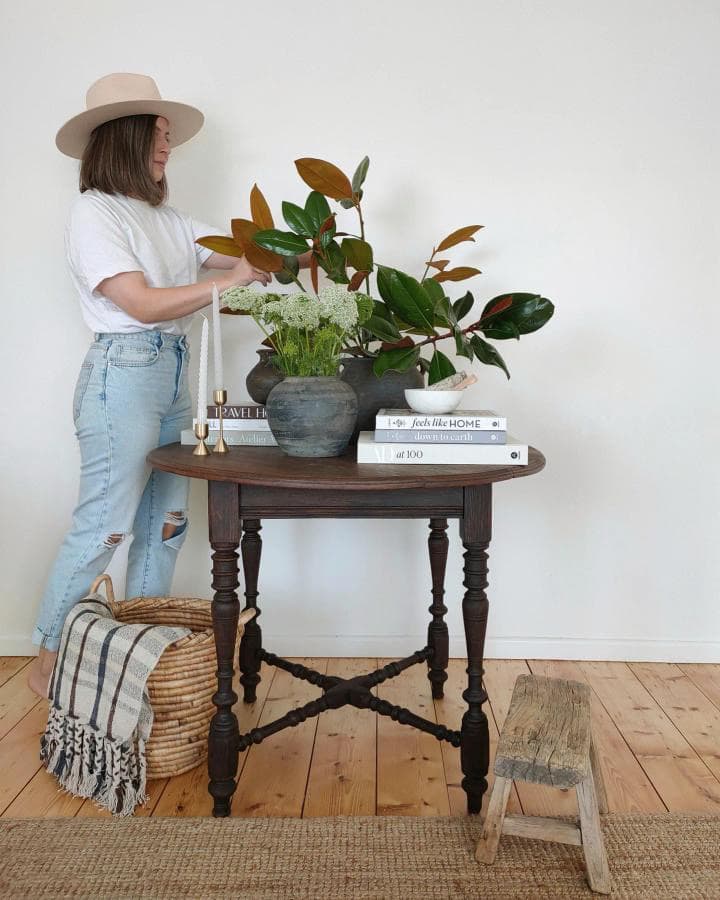
Transform a vintage table
A return to the natural beauty of your favourite timber pieces might just be your most refreshing idea yet.
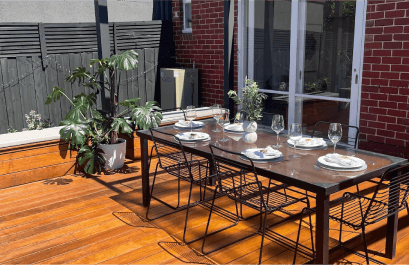
Decking re-oil
Just as the kitchen is a place for coming together or the bedroom is a haven for rest, a deck is an extension of your home and a space in which to take pride.