Update your dated Timber Panel Wall with Liming White
How to ReLove - Update your dated Timber Panel Wall with Liming White
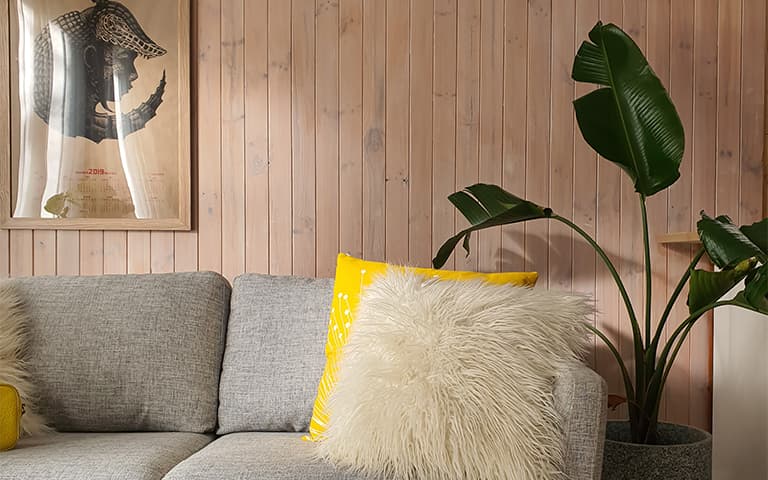
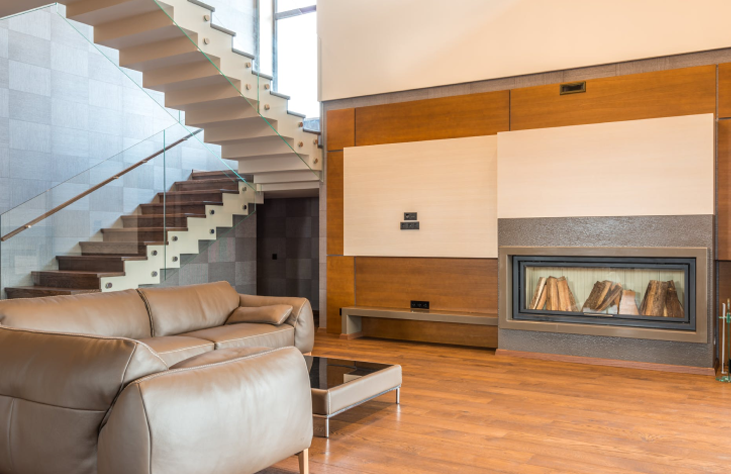
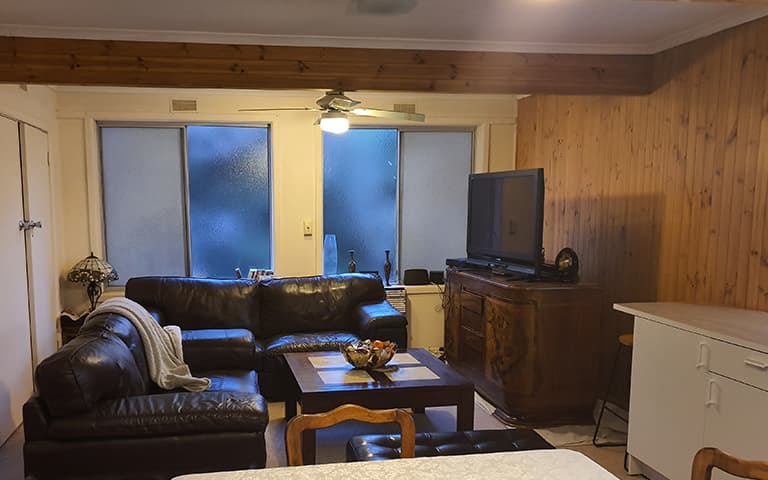
Wall panelling has seen a recent surge in popularity and has certainly endured as a style that can be adapted to suit both modern and traditional homes. Whether your panelling goes all the way up the wall or only covers the lower wall, colour choice is everything. The stain of the timber will dictate what era that panelling exists in, and most commonly a pre-loved home will have a bright yellow stain hangover. Here’s how you can update the look of your wall panelling and bring it back to life with a coat of modern Liming White from the Feast Watson’s Timber Floor Stain & Varnish range.
What you'll need

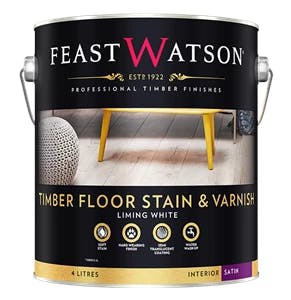
Feast Watson Timber Floor Stain & Varnish Liming White
Colour
Liming White


Paint Brush


Paint roller (with microfiber nap)
Roller tray
Drop sheets
Clean rags
A step ladder for the high spots
Safety gear (Protective Glasses, Clothing, Ear coverings and a mask)
Electric Sander
Sandpaper
Step One: Snap it!
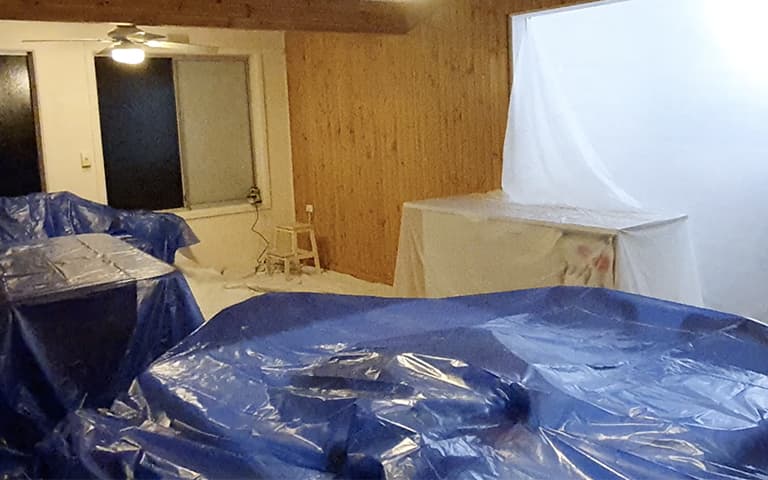
This is going to be quite the transformation, so make sure you document the process — starting with a before photo to compare to when the project is completed.
Step Two: Prep it
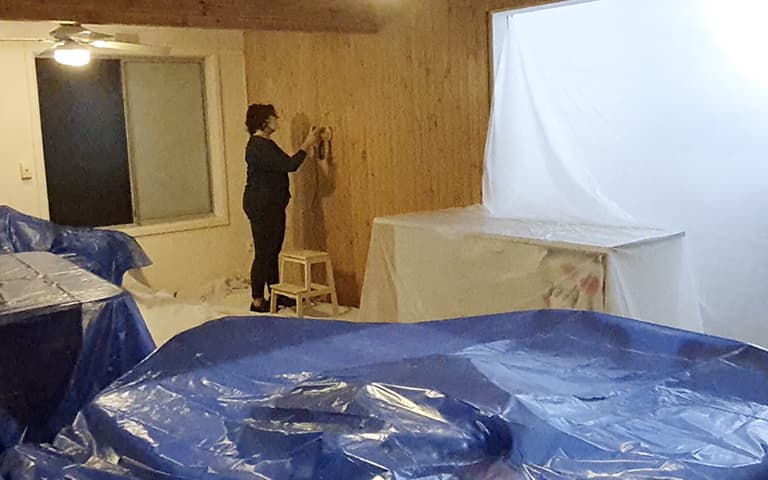
As with all timber staining and painting, preparation is key.
Remove any furniture, paintings and fixtures from the wall. Cover any other furniture, decorative items and flooring with drop sheets. You’ll need to protect your space not only from paint drips but also from sawdust.
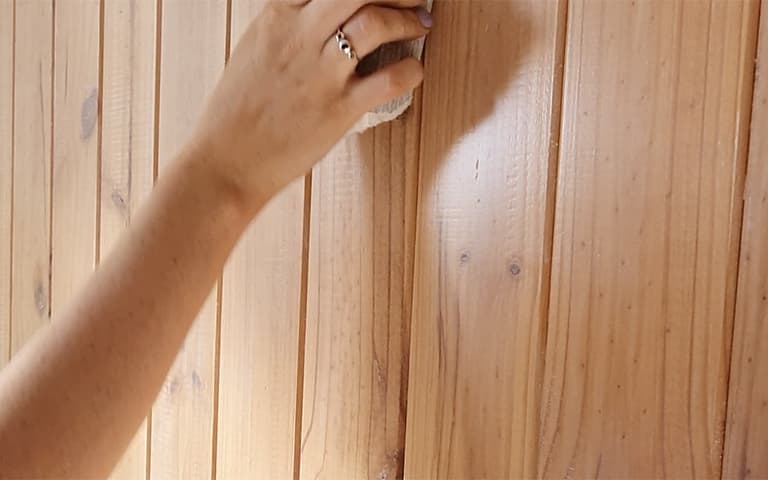
Step Three: Sand it
Sand that icky yellow varnish back. Using an orbital sander, start with 80 grit and then 120 grit to get a smooth finish. You will need to keep sanding until you reach bare timber with no stain or varnish remaining.
Dust off excess sawdust and then wipe away any residual dust with a damp cloth.
Step Four: Stir it
Make sure to stir your Timber Floor Stain & Varnish Liming White Floor Finish really well. Use a stirring stick, scrape the bottom of the can. Keep mixing until there are no chunks on the bottom and all the colour is mixed through.
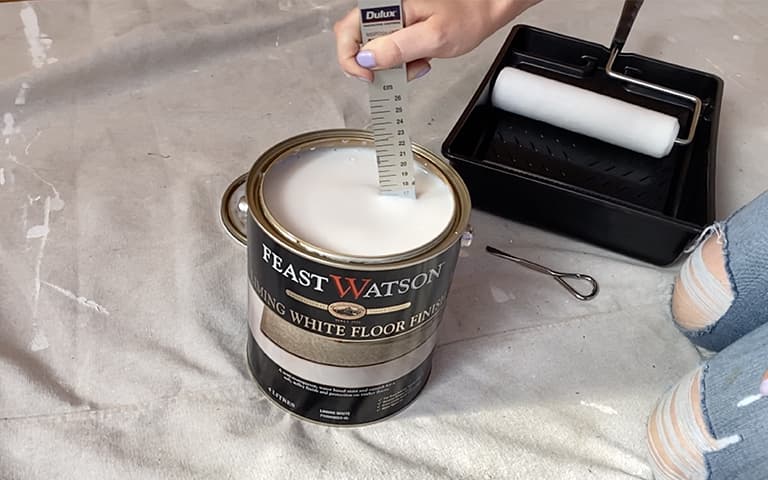
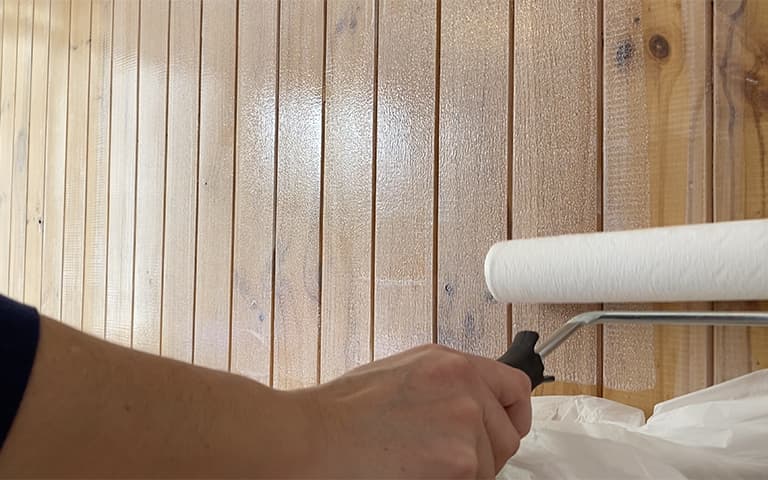
Step Five: Coat it
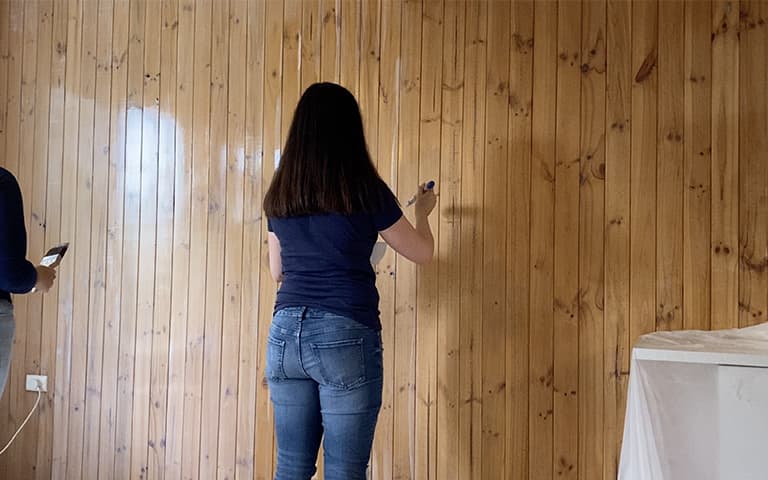
Pour the Timber Floor Stain & Varnish into a rolling tray. Cut in along the starting edge and the top and bottom of 2-3 boards at a time. Using a roller with a microfiber nap,roll onto the prepared board in the direction of the wood grain.
Timber Floor Stain & Varnish is designed to dry within 2 to 3 hours, so there’s no need to rush to paint the whole wall at once. By cutting in and painting a few boards at a time, you’ll be able to prevent lap marks on the panelling. Completing this step slowly and carefully will make a big difference to your finished look.
To get the best finish, tip off with a dry brush by running your brush gently across the surface. Pay particular attention to the gaps in the panelling and aim for a smooth and even finish.
Let the first coat dry. It will take about 2 to 3 hours to dry fully. Touch the surface in an inconspicuous area to feel if it is fully dry before moving on to the next step.
Step Six: Sand it again
Use 120 grit sandpaper to lightly hand sand the entire surface of the wall after your first coat. This important step will give you the smoothest finish.
Dust off with a dry cloth and wipe away any excess with a damp cloth.
Step Seven: Repeat it
If you want a more intense white colour, recoat by following Steps Five and Six. You can coat as many times as you like, but two to three will give you the best results, while maintaining some transparency to see the natural grain in the timber.
Remember to cut in, roll on and tip off with care and allow 2 to 3 hours for drying in between coats.
Step Eight: Snap it!
Restyle your space by returning your furniture, fittings and any other decor items back into place.
Don’t forget to take a photo of your completed project!
Maintain your new look by wiping the wall clean with a damp cloth from time to time. You can sand and recoat the panelling any time you feel like an update or refresh.