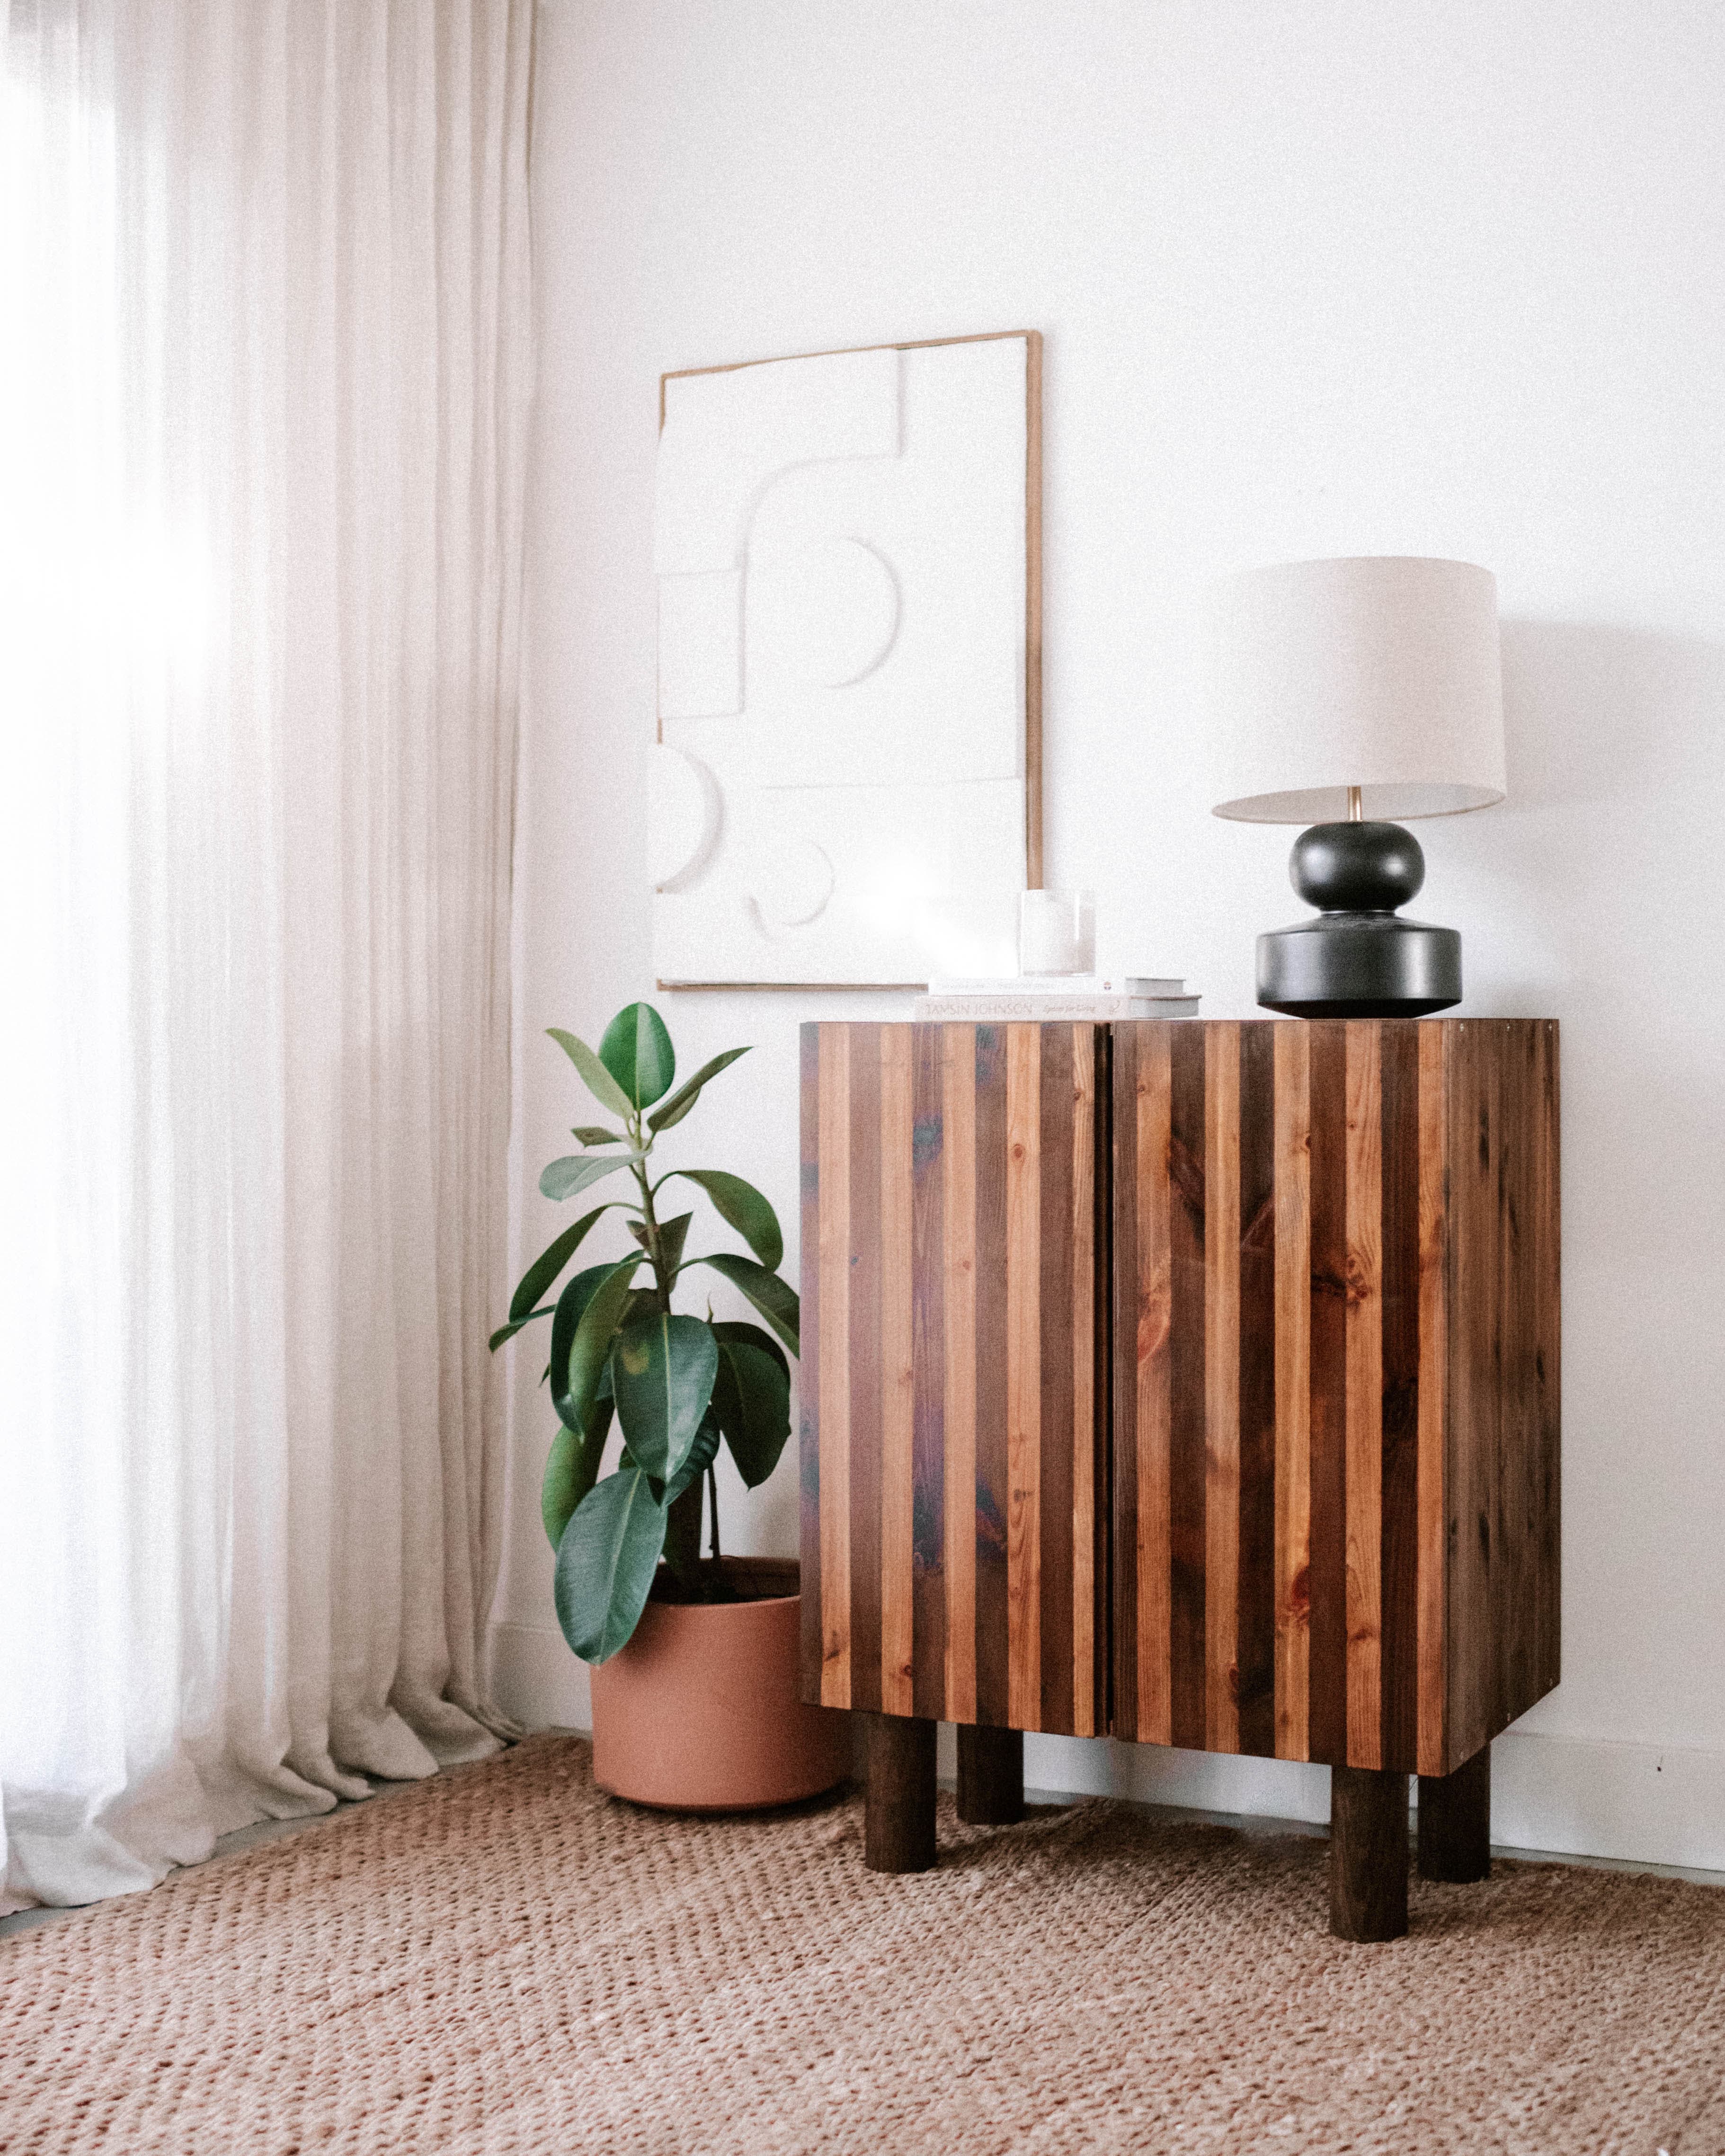
Geneva Vanderzeil's stained cabinet with a twist
Learn how to create a striped pattern with Prooftint
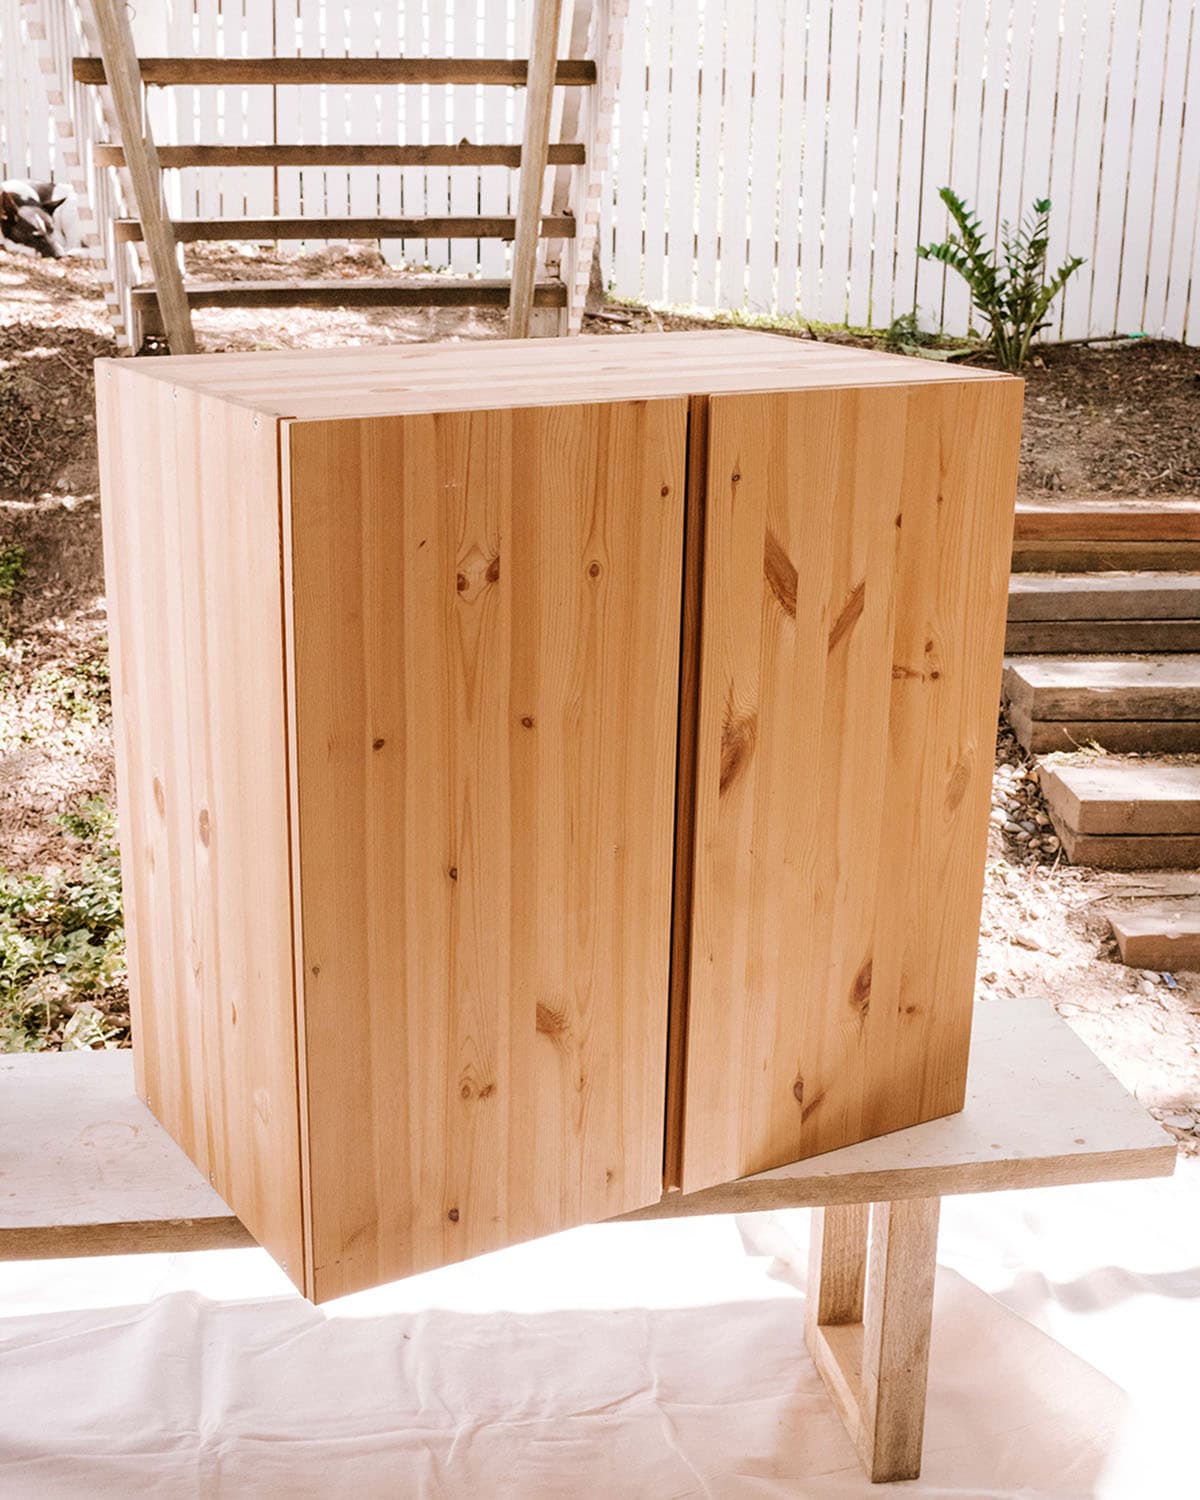
Have you ever wanted to give a piece of furniture a fresh new look without breaking the bank? Well, that's exactly what Geneva Vanderzeil did! She created a sophisticated, stripe stained cabinet with Feast Watson Prooftint.
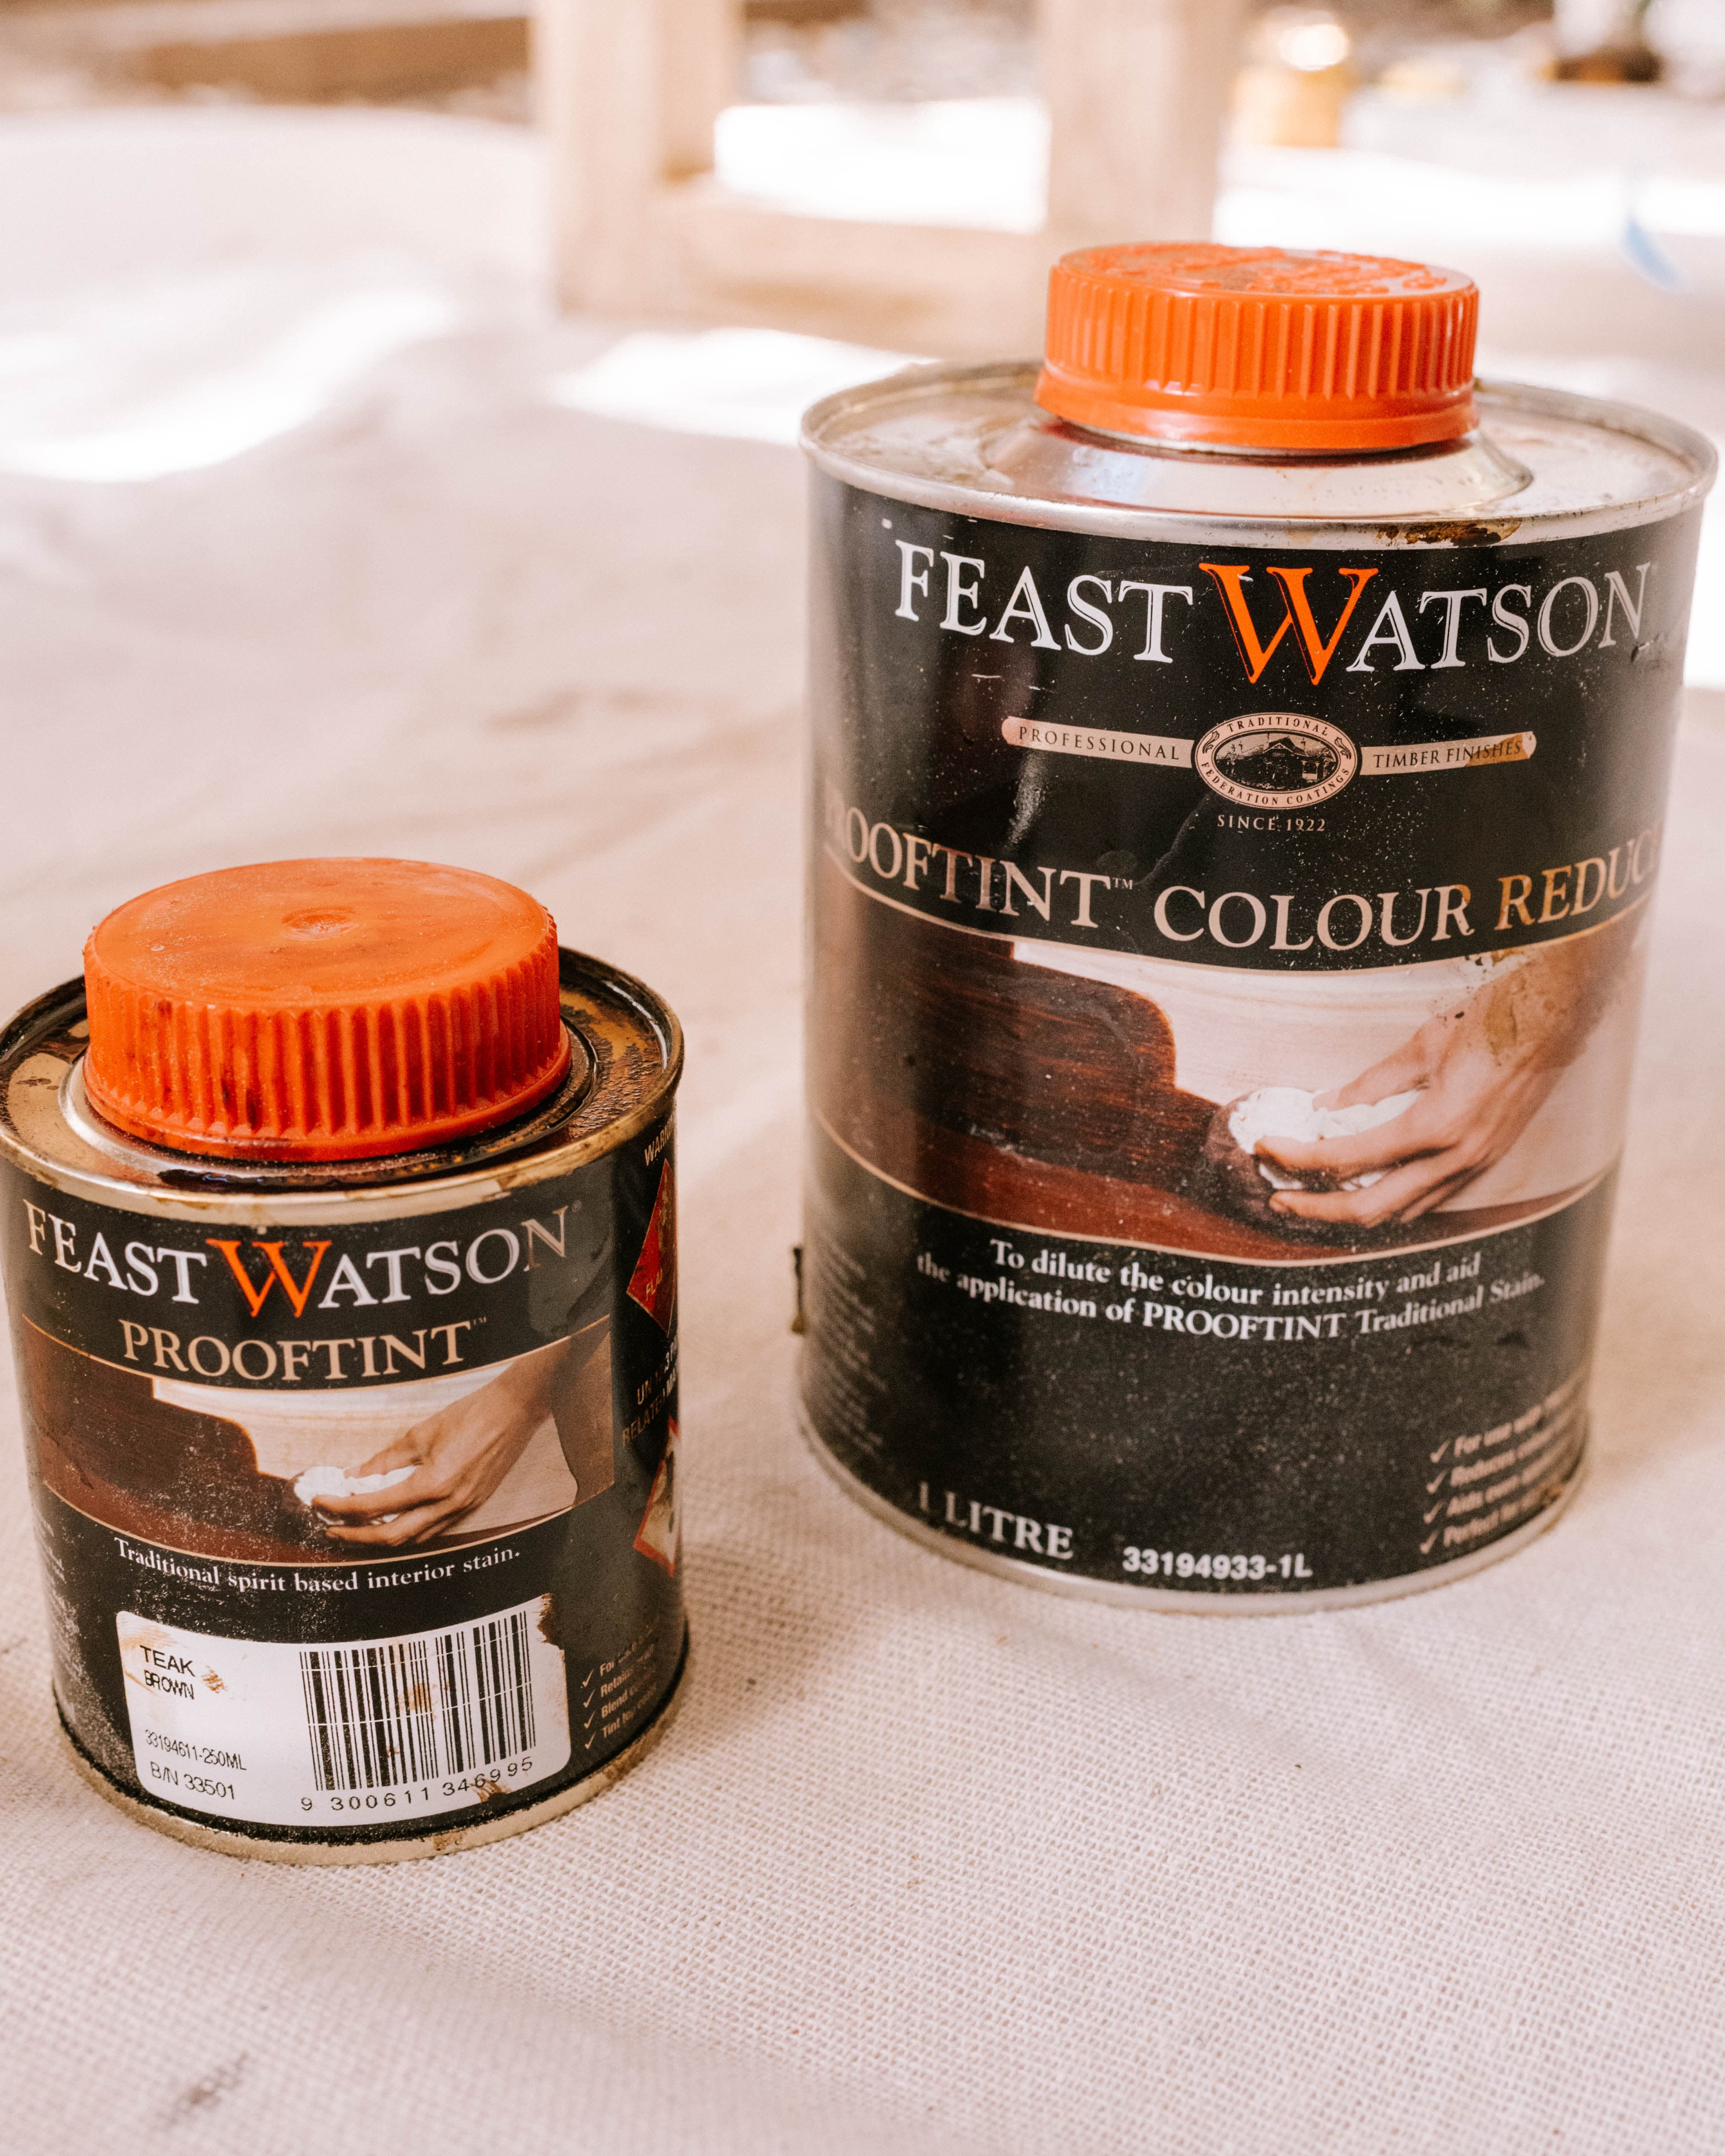
Geneva desired a modern and unique look for this piece, and after being inspired by recent furniture trends, she decided to recreate the beautiful pattern using Prooftint in Teak Brown and mixing it with Prooftint Colour Reducer to create two different shades.
Read on to learn how you can achieve this look yourself.
What you'll need

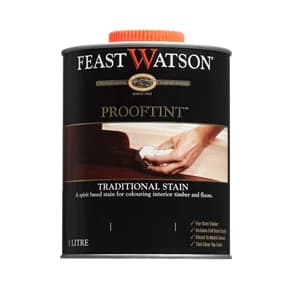
Feast Watson Prooftint™
Colour
Teak Brown
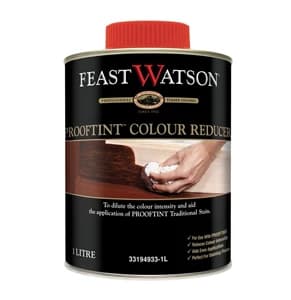
Feast Watson Prooftint™ Colour Reducer
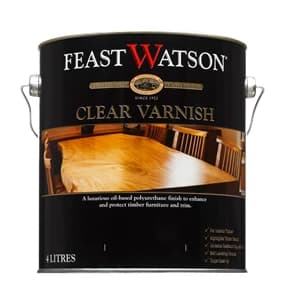
Feast Watson Clear Varnish


Electric Sander
Sandpaper
Painting tape


Paint Brush
Heavy duty cardboard tube
Small Timber Squares
A drop saw (or hand saw)
Screws
Time to sand
- Sand the whole piece with 240 grit sandpaper for a smooth, even finish.
Experiment with stain
- On a timber off-cut, experiment with the stain colour and stripe width until you land on a design you’re happy with. Geneva used Prooftint in Teak Brown and also mixed the hue with Prooftint Colour Reducer in a 1:1 ratio to create a lighter shade.
- Using a sponge, stain the entire piece in the lighter shade - the 1:1 Prooftint in Teak Brown and Prooftint Colour Reducer formula.
- Allow to dry.
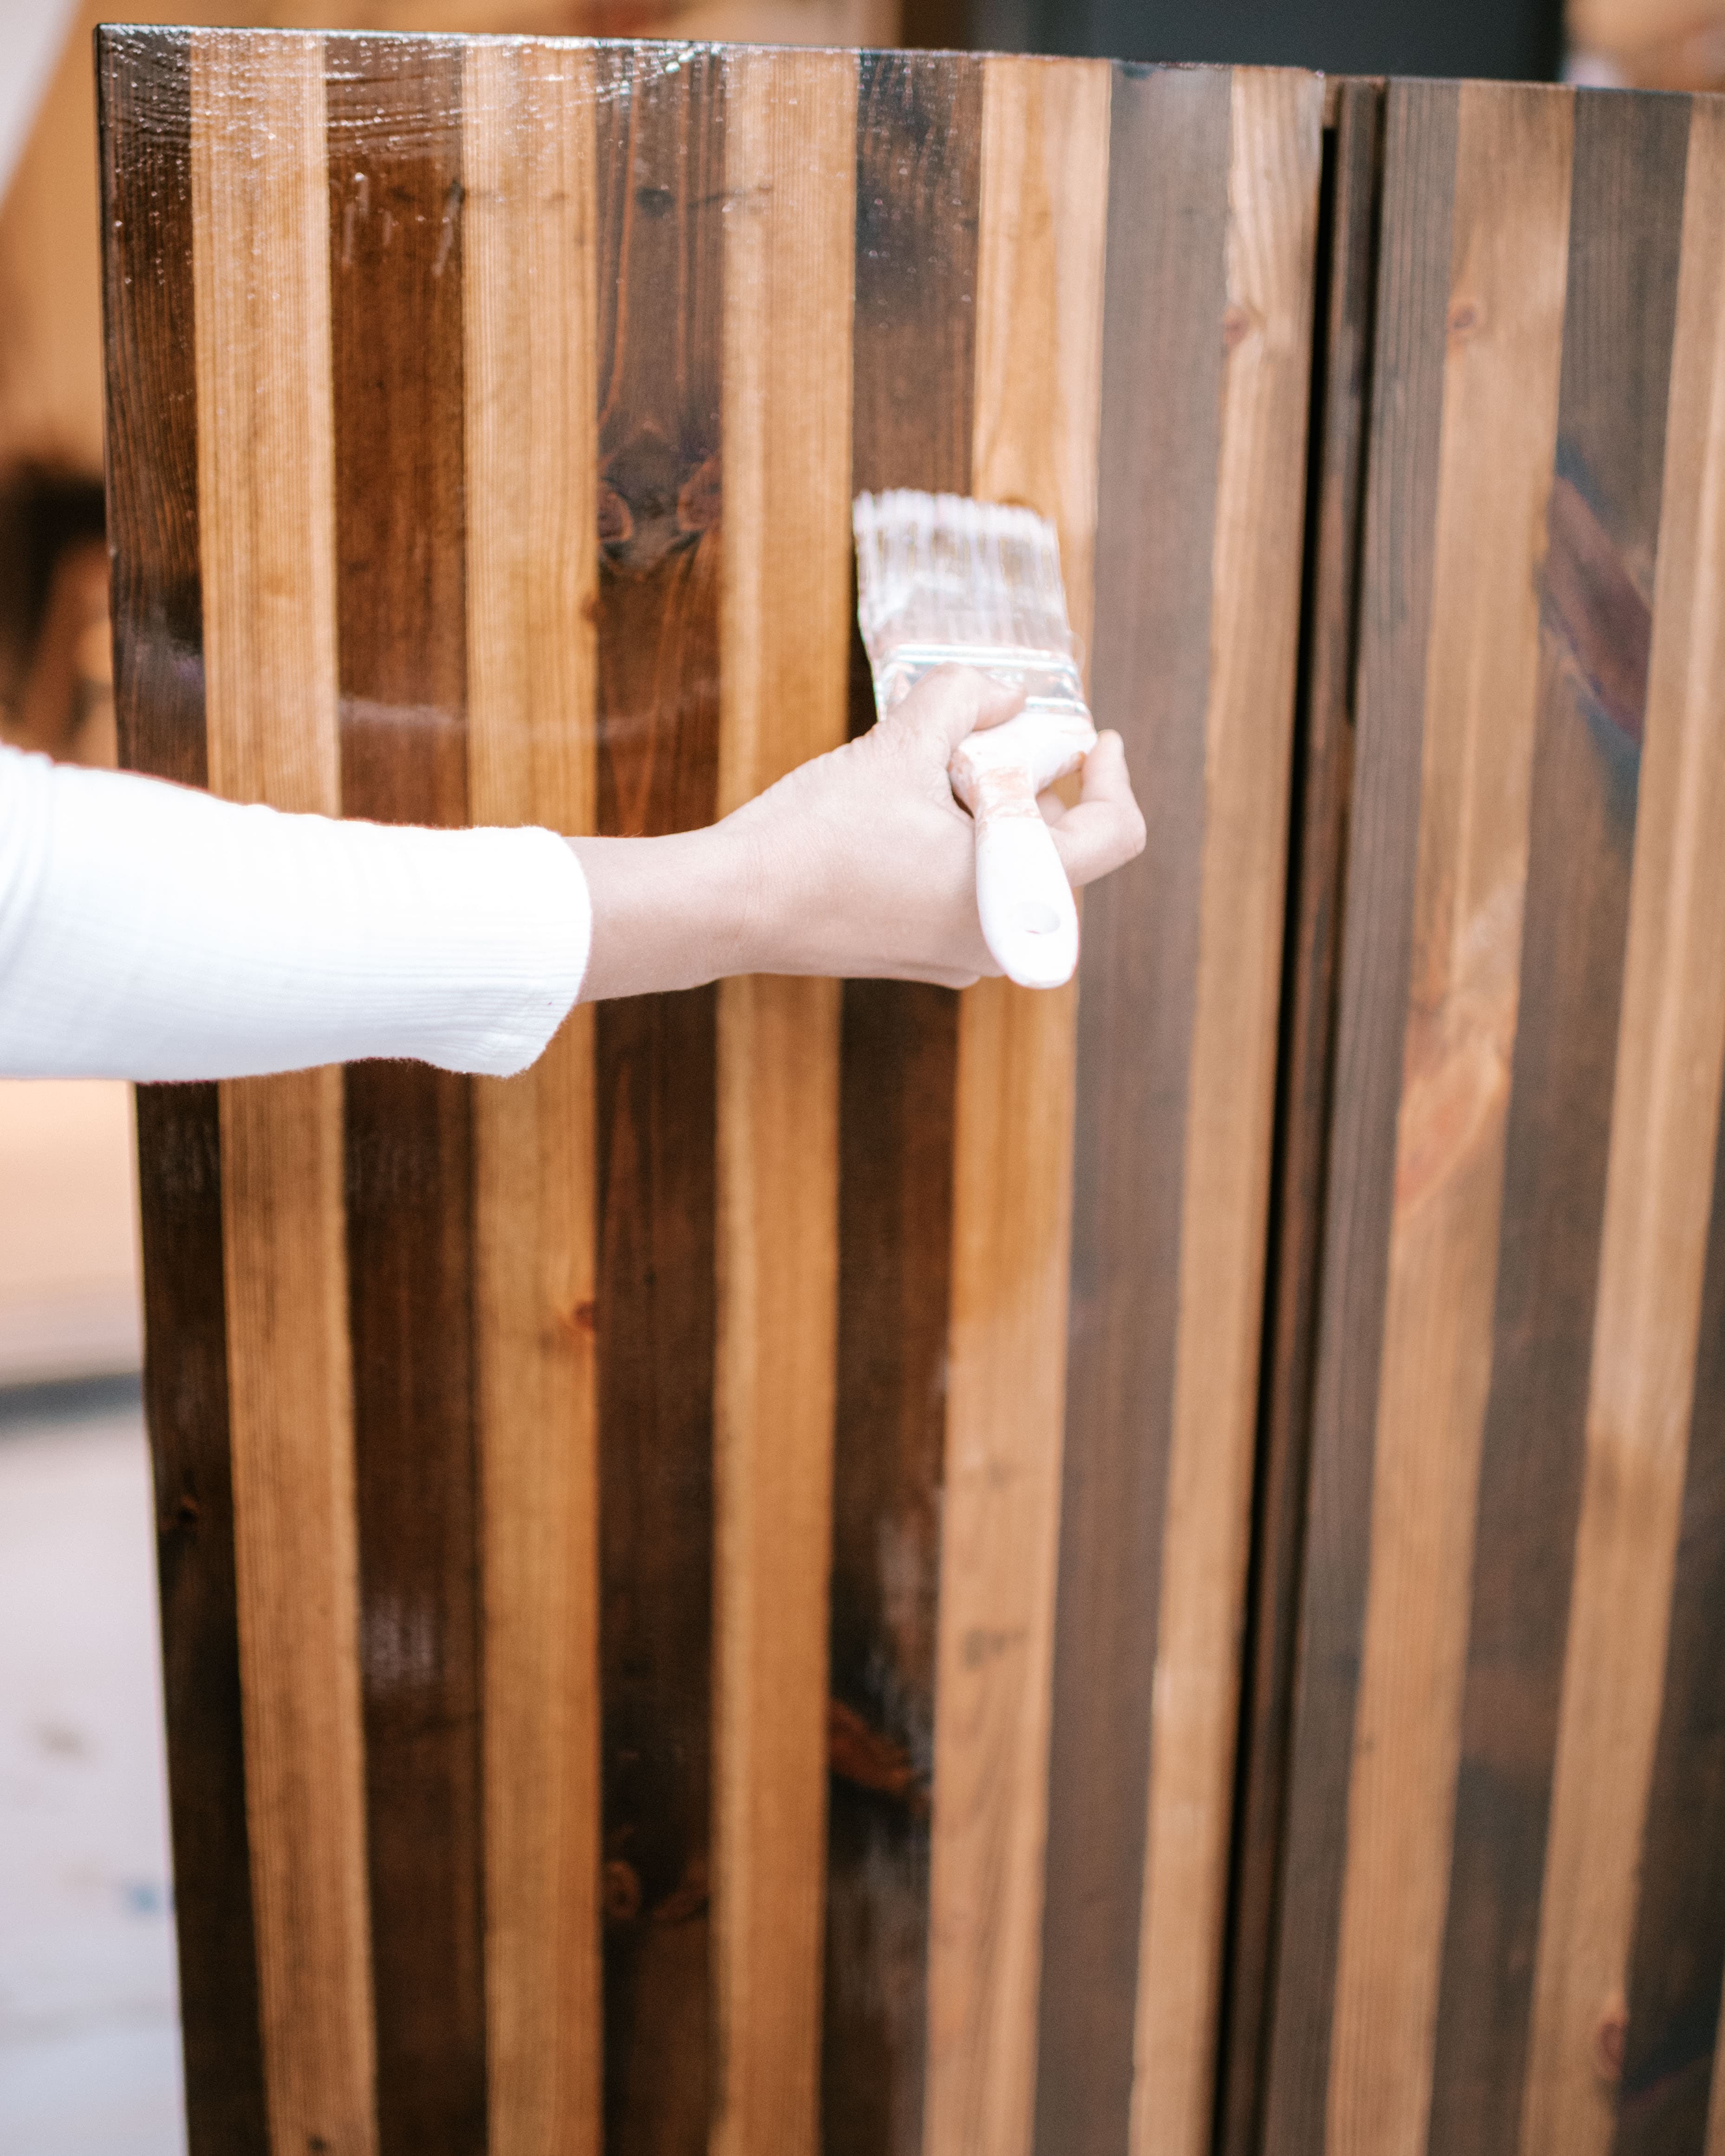
Add some stripes
- Use Painter's Tape to create stripes along the front of the piece.
- Apply a coat of the darker shade - Prooftint in Teak Brown.
- Allow to dry before applying another coat.
- Remove the tape.
Assemble!
- If your piece requires legs like Geneva's did, cut 4 lengths of heavy duty cardboard tubing. Screw a small piece of timber inside the tube at one end.
- Wrap the legs in Sticky Bark veneer paper that’s been stained with the Prooftint and Prooftint Colour Reducer formula.
- If desired, apply the stained Sticky Bark veneer paper to the back of the cabinet.
- Coat the whole piece in Clear Varnish in Satin.
- Attach the legs by screwing through the base of the cabinet and into the small timber inside the cardboard tube.
Just like that a dated piece is transformed into a vintage treasure! View our range of woodstain colours and find the perfect contrast for your striped design.
Related Guides
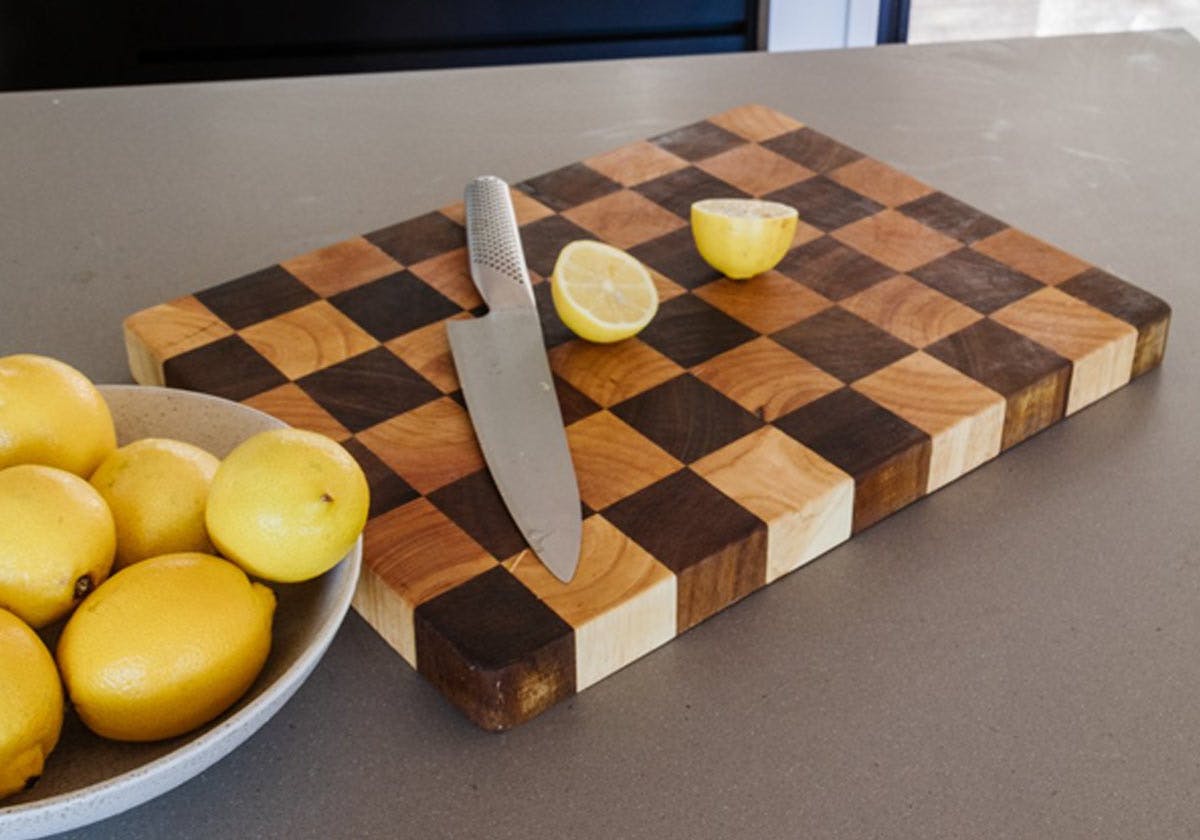
Smor Home's chopping board restoration
Timber chopping boards are cherished kitchen companions that can lose their lustre over time. But fret not! @smorhome reveals how to ReLove your boards to their former glory using our food-safe coatings.
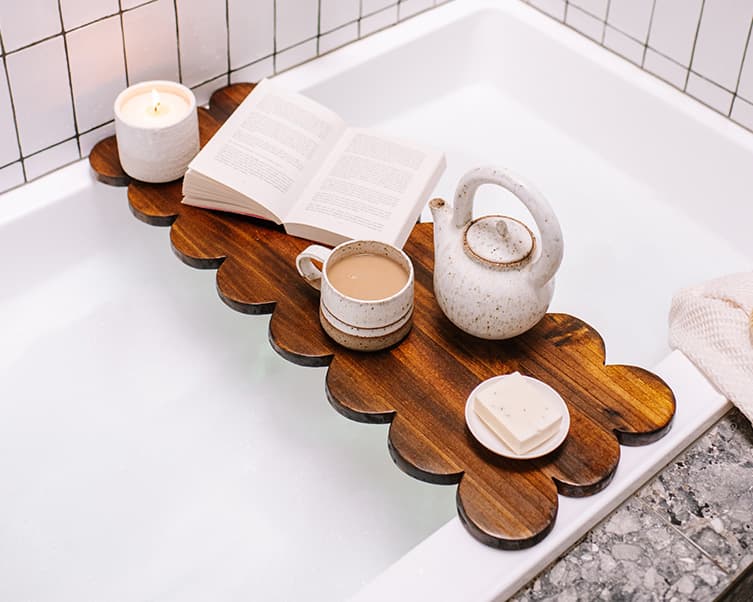
How to create a scalloped bath tray
Create your very own bath tray and level up your nighttime routine. Not only is the timber tray a stunning addition to your bathroom, it will also hold your book, candle and tea while you relax.