Get the look with Feast Watson Stain & Varnish in Liming White
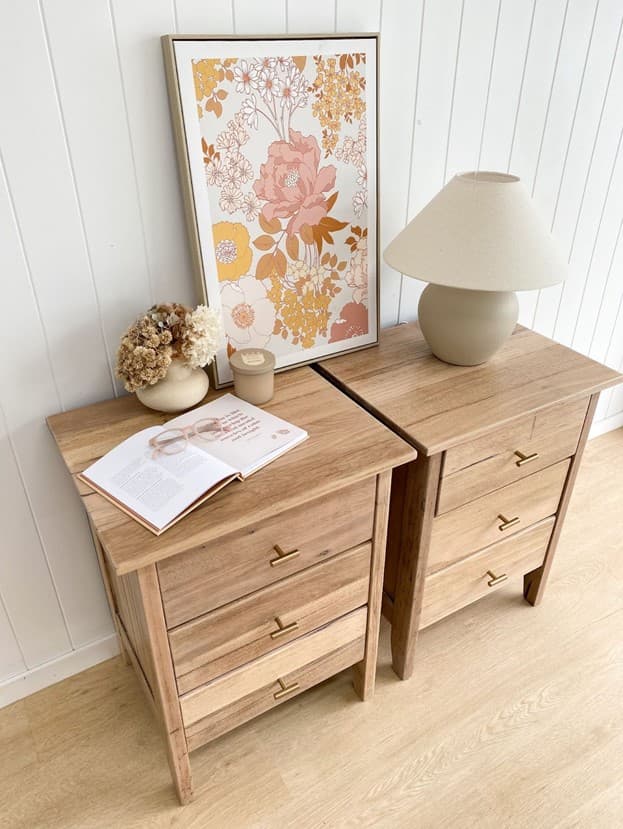
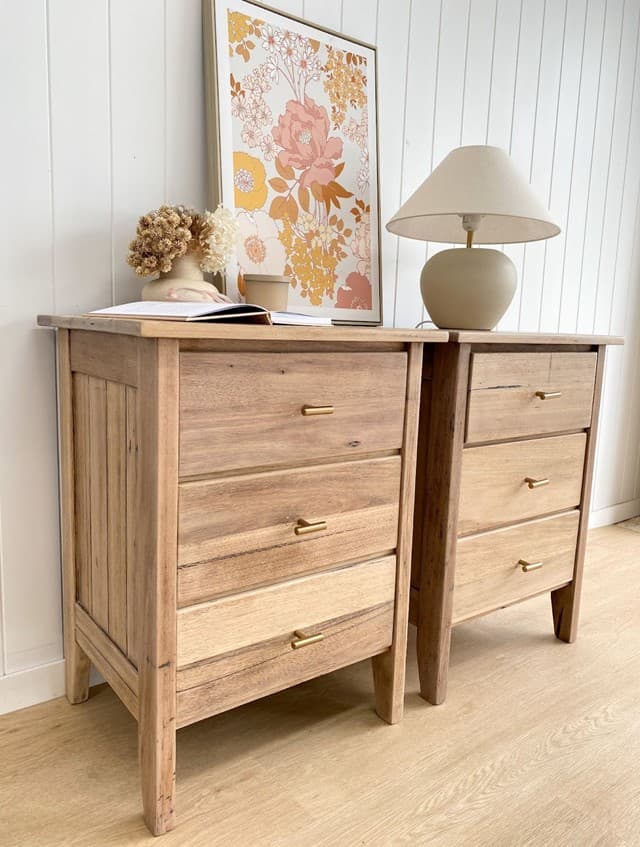
Kelly Oakey transforms some well-loved bedside tables
Bedside tables are more than just functional pieces of furniture; they can also be a stylish accent to your bedroom. If you're looking to give your bedroom a fresh look and add a touch of coastal elegance, consider transforming your bedside tables with Feast Watson Stain & Varnish in Liming White. In this blog post, we'll tell you how @kellyoakey transformed her bedside tables by giving them a beautiful white wood stain.
What you'll need


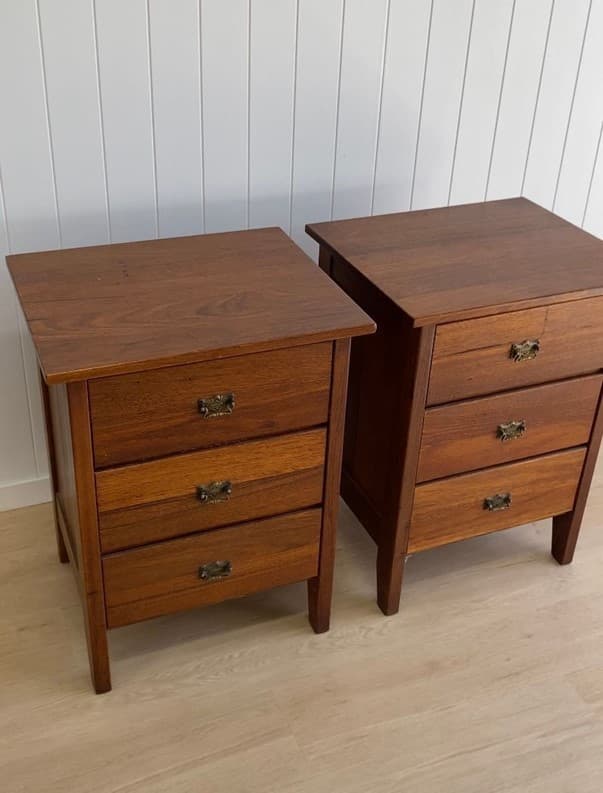
Bedside Tables

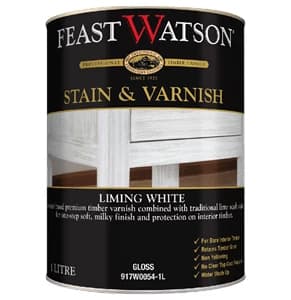
Feast Watson Stain & Varnish
Colour
Liming White
Electric Sander
Sandpaper


Paint Brush
Cloth
Painting tape
Safety gear (Protective Glasses, Clothing, Ear coverings and a mask)
Start with a good clean and sand
- Ensure your bedside tables are clean and free of any dust or debris.
- Remove any hardware or knobs and set aside. If you want to protect certain areas from staining, use painter's tape to mask them off.
- To achieve a smooth finish, lightly sand the surfaces of your bedside tables. Start with a coarse-grit sandpaper (around 80-100 grit) to remove any existing finish or imperfections. Then, gradually work your way up to a finer grit (around 220-300) to create a smooth, even surface. Be sure to wipe away any dust with a clean cloth.
Applying Feast Watson Stain & Varnish
- Stir Feast Watson Stain & Varnish Liming White thoroughly, making sure the white wood stain is well-mixed.
- Using a clean paintbrush, apply a thin and even coat of the Liming White stain to your bedside tables. Work in the direction of the wood grain for the best results. Allow this first coat to dry for 2 hours.
- Lightly sand the surface with a fine-grit sandpaper (around 220-300 grit) to smooth out any raised wood fibres. Wipe away any dust with a clean, lint-free cloth.
- Repeat the application and sanding process for additional coats until you achieve your desired look. This may typically require 2-3 coats, but you can add more if you want a more opaque finish. Be sure to allow each coat to dry thoroughly before applying the next.
- Once completely dry, reattach any hardware or knobs you removed earlier. Your transformed bedside tables are now ready to be placed back in your bedroom.
There you have it! Know that you know how to achieve a dreamy, coastal style, will you be taking on this DIY project? Check out our Stain & Varnish Liming White to get started.
Related Guides
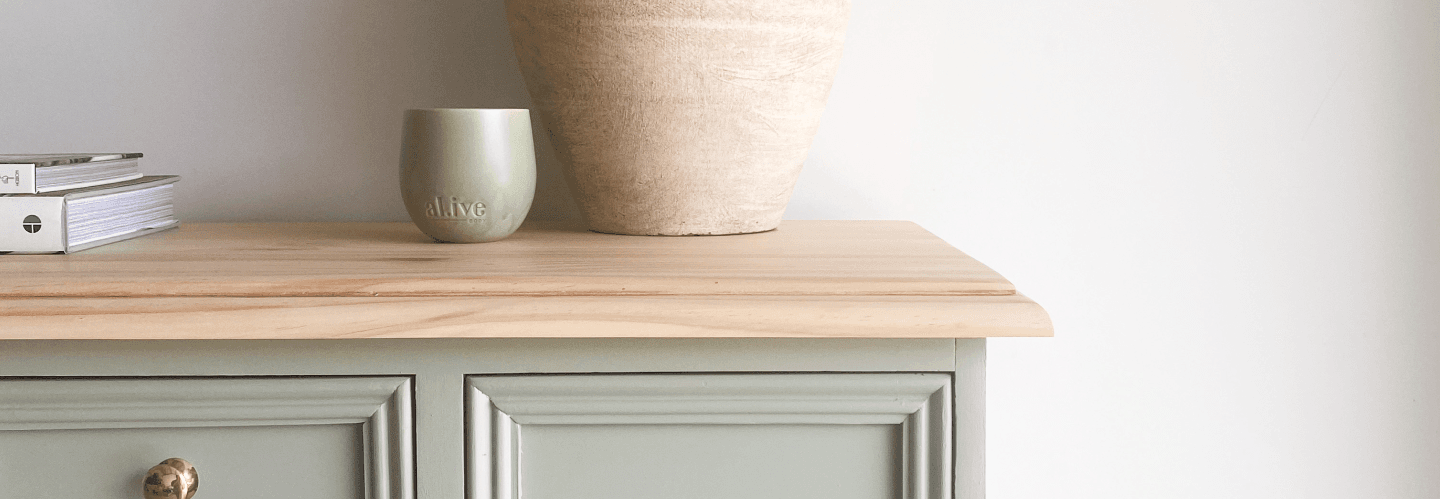
Liming White Tallboy
@butchandbulldog breathed new life into this old (tall) boy, contrasting our Stain & Varnish Liming White on the top with a beautiful sage hue.
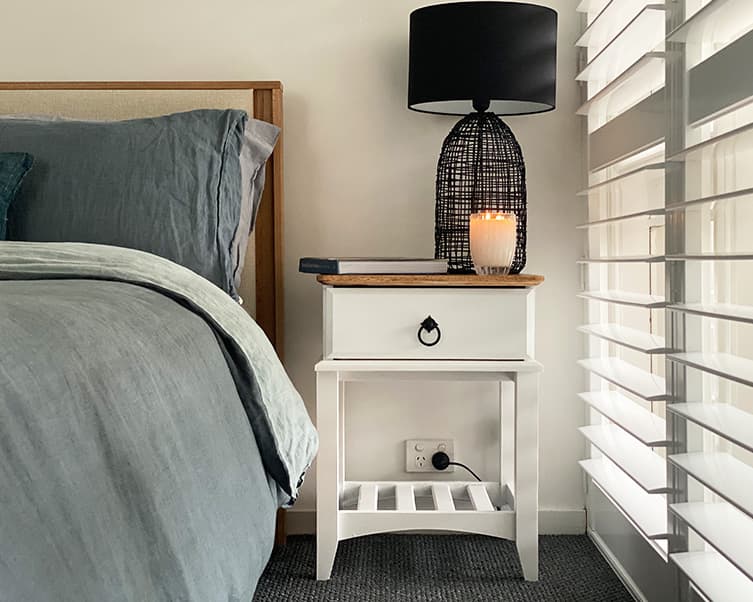
How to refresh your bedside tables
Discover just how easy it is to refresh your bedside tables with Feast Watson's Timber Floor Wax & Timber Floor Paint.