DIY Monitor Stand | Get the Look
Create a custom computer monitor stand
Home offices tend to be quite practical spaces, with more attention spent on workflows and phone calls than inspiring décor and stylish furniture. But it's easy to add an aesthetic touch to your work area without compromising on functionality.
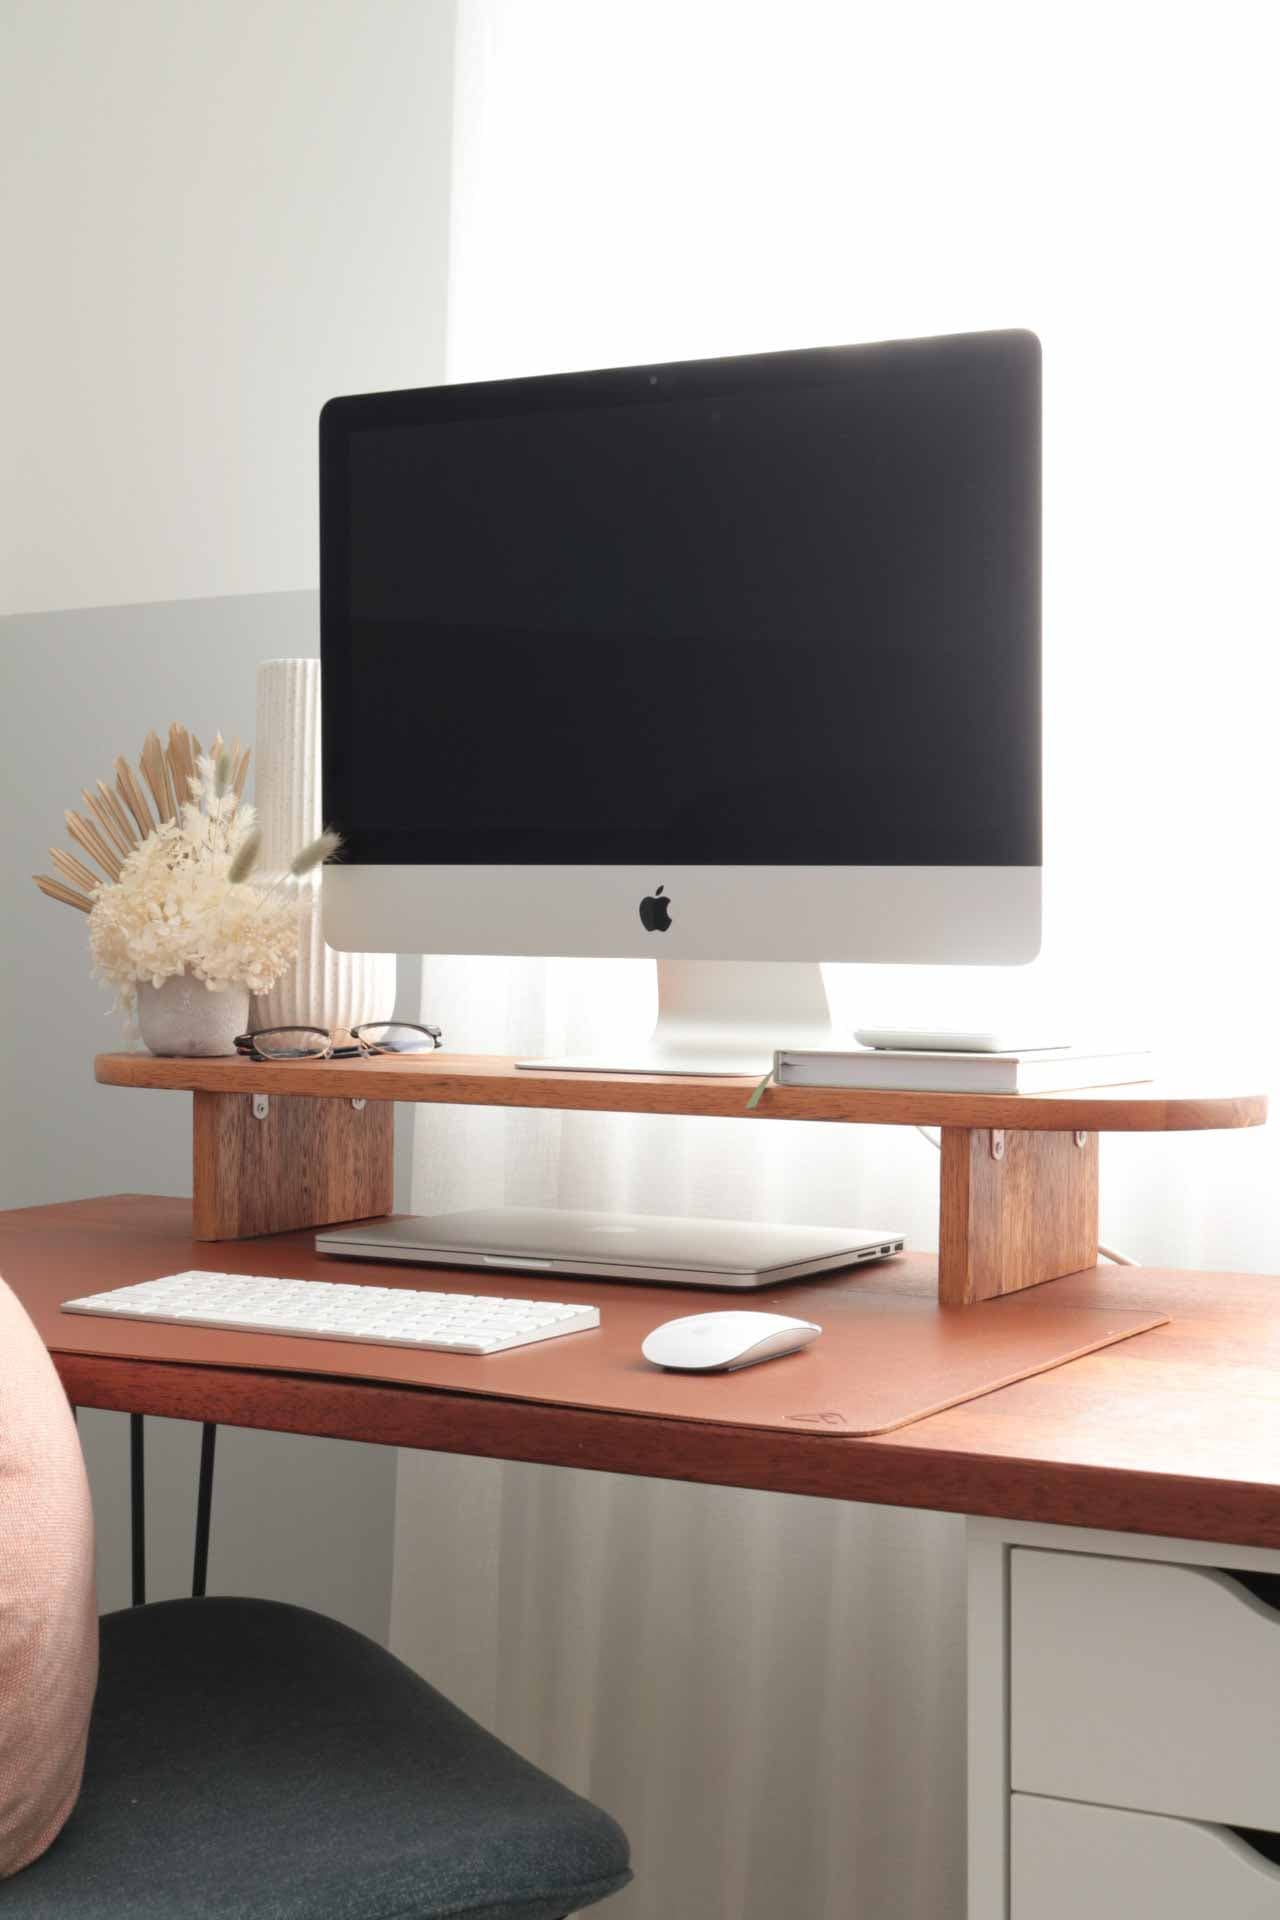
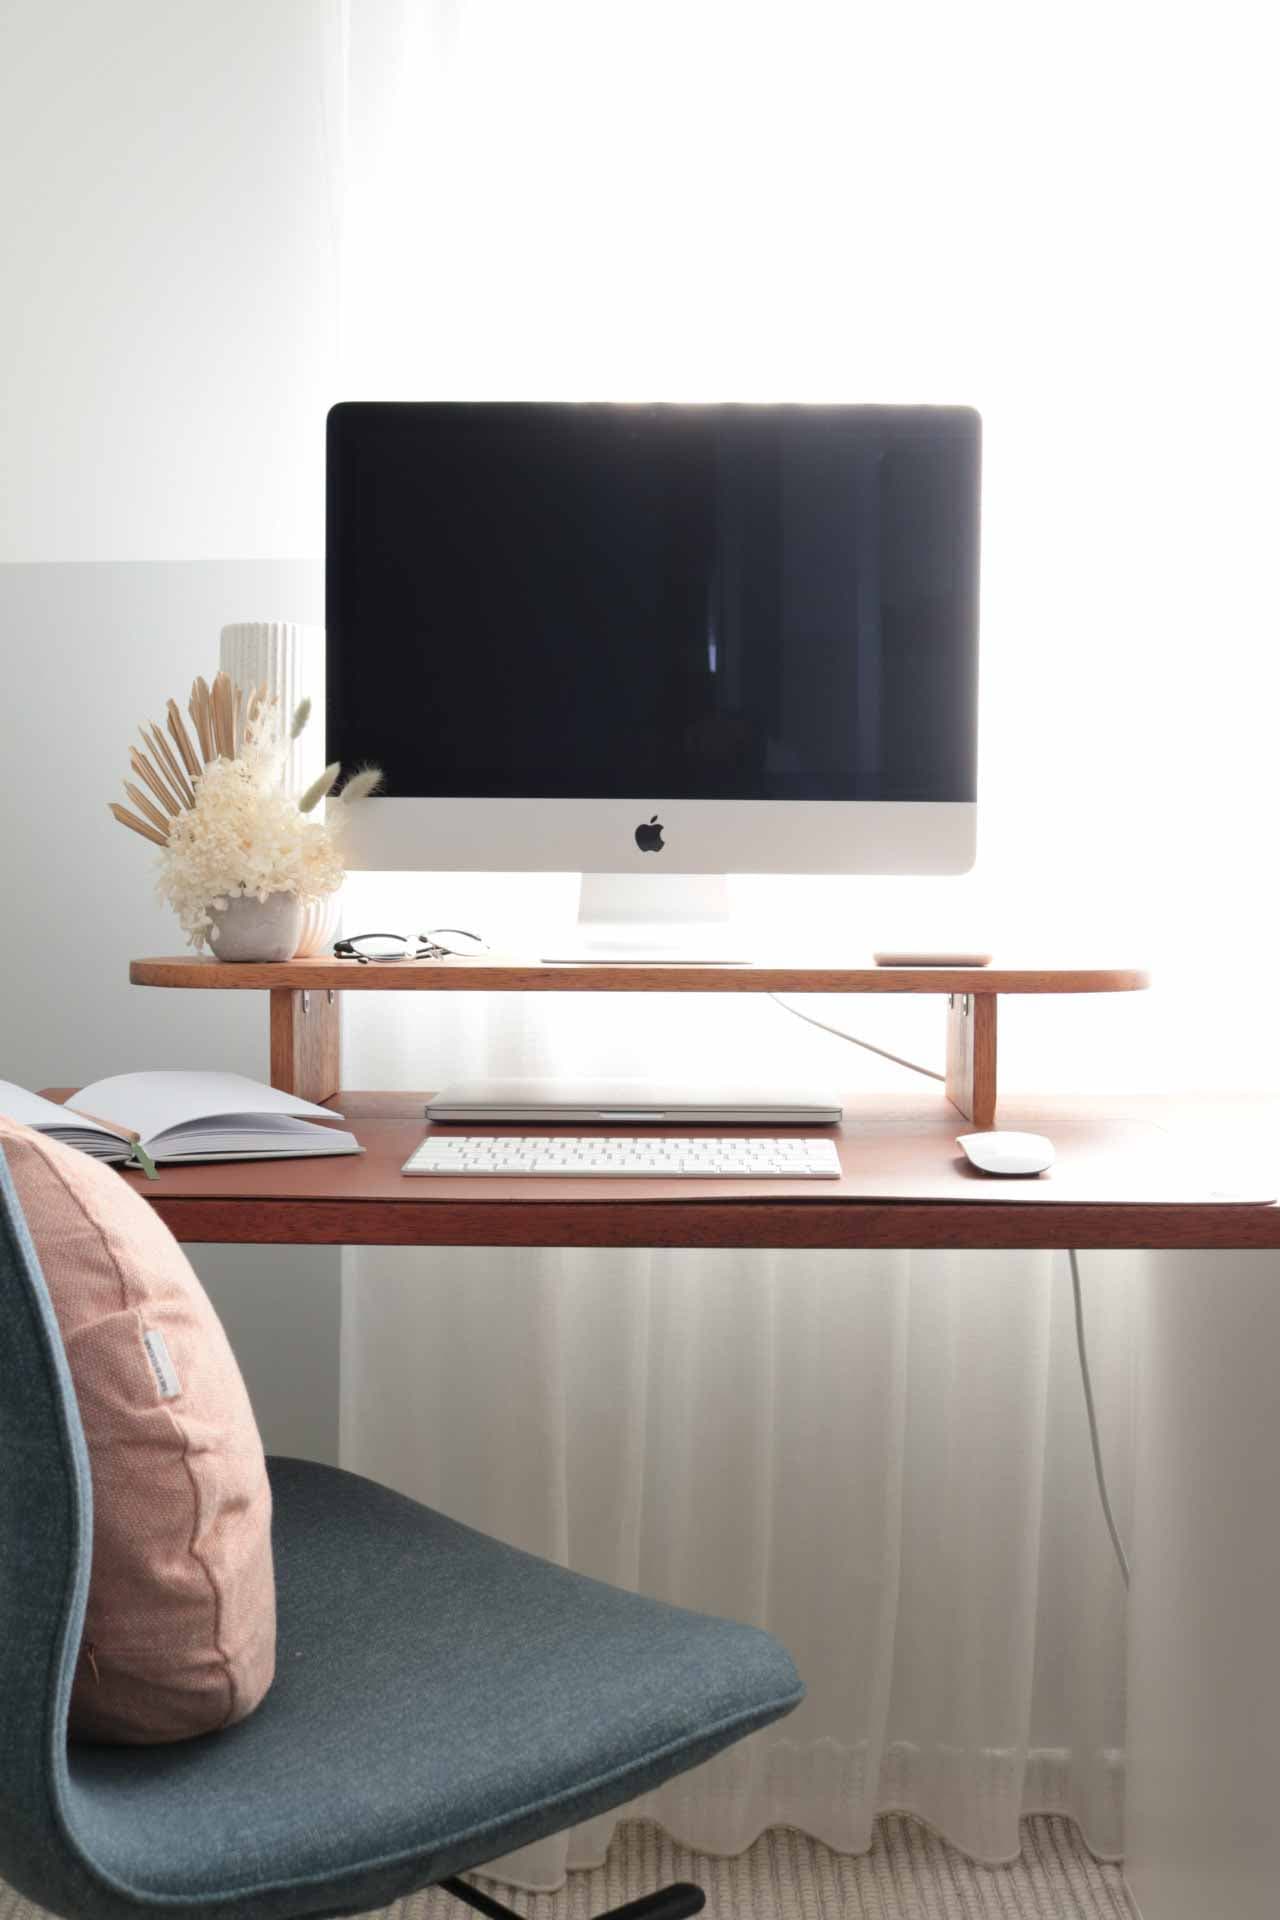
Creating a timber computer monitor stand like @sarah.amos.interiors’ helps free up precious desk space while looking a little Scandi-chic. Even better: you can store notepads, pens, or cables under your DIY stand to keep bits and pieces out of your way while you're working.
What you'll need


Feast Watson Timber Floor Wax
Size
1L
Qty
1


Timber Panel (approx. 1200mm x 300mm x 1.8mm)
Tape Measure
Electric Sander
Sandpaper
Wood Glue
Brackets
Screws
Drill
Clean rags


Paint Brush
How to get @sarah.amos.interiors’ look
1. Measure and cut the timber to create the stand's top and legs. Sand to smooth the timber and create curved ends on the top.
2. Apply wood glue to the legs and secure them in place with clamps until dry.
3. Line up the brackets, and drill or screw them into place to connect the legs to the top.
Complete the job with Feast Watson Timber Floor Wax
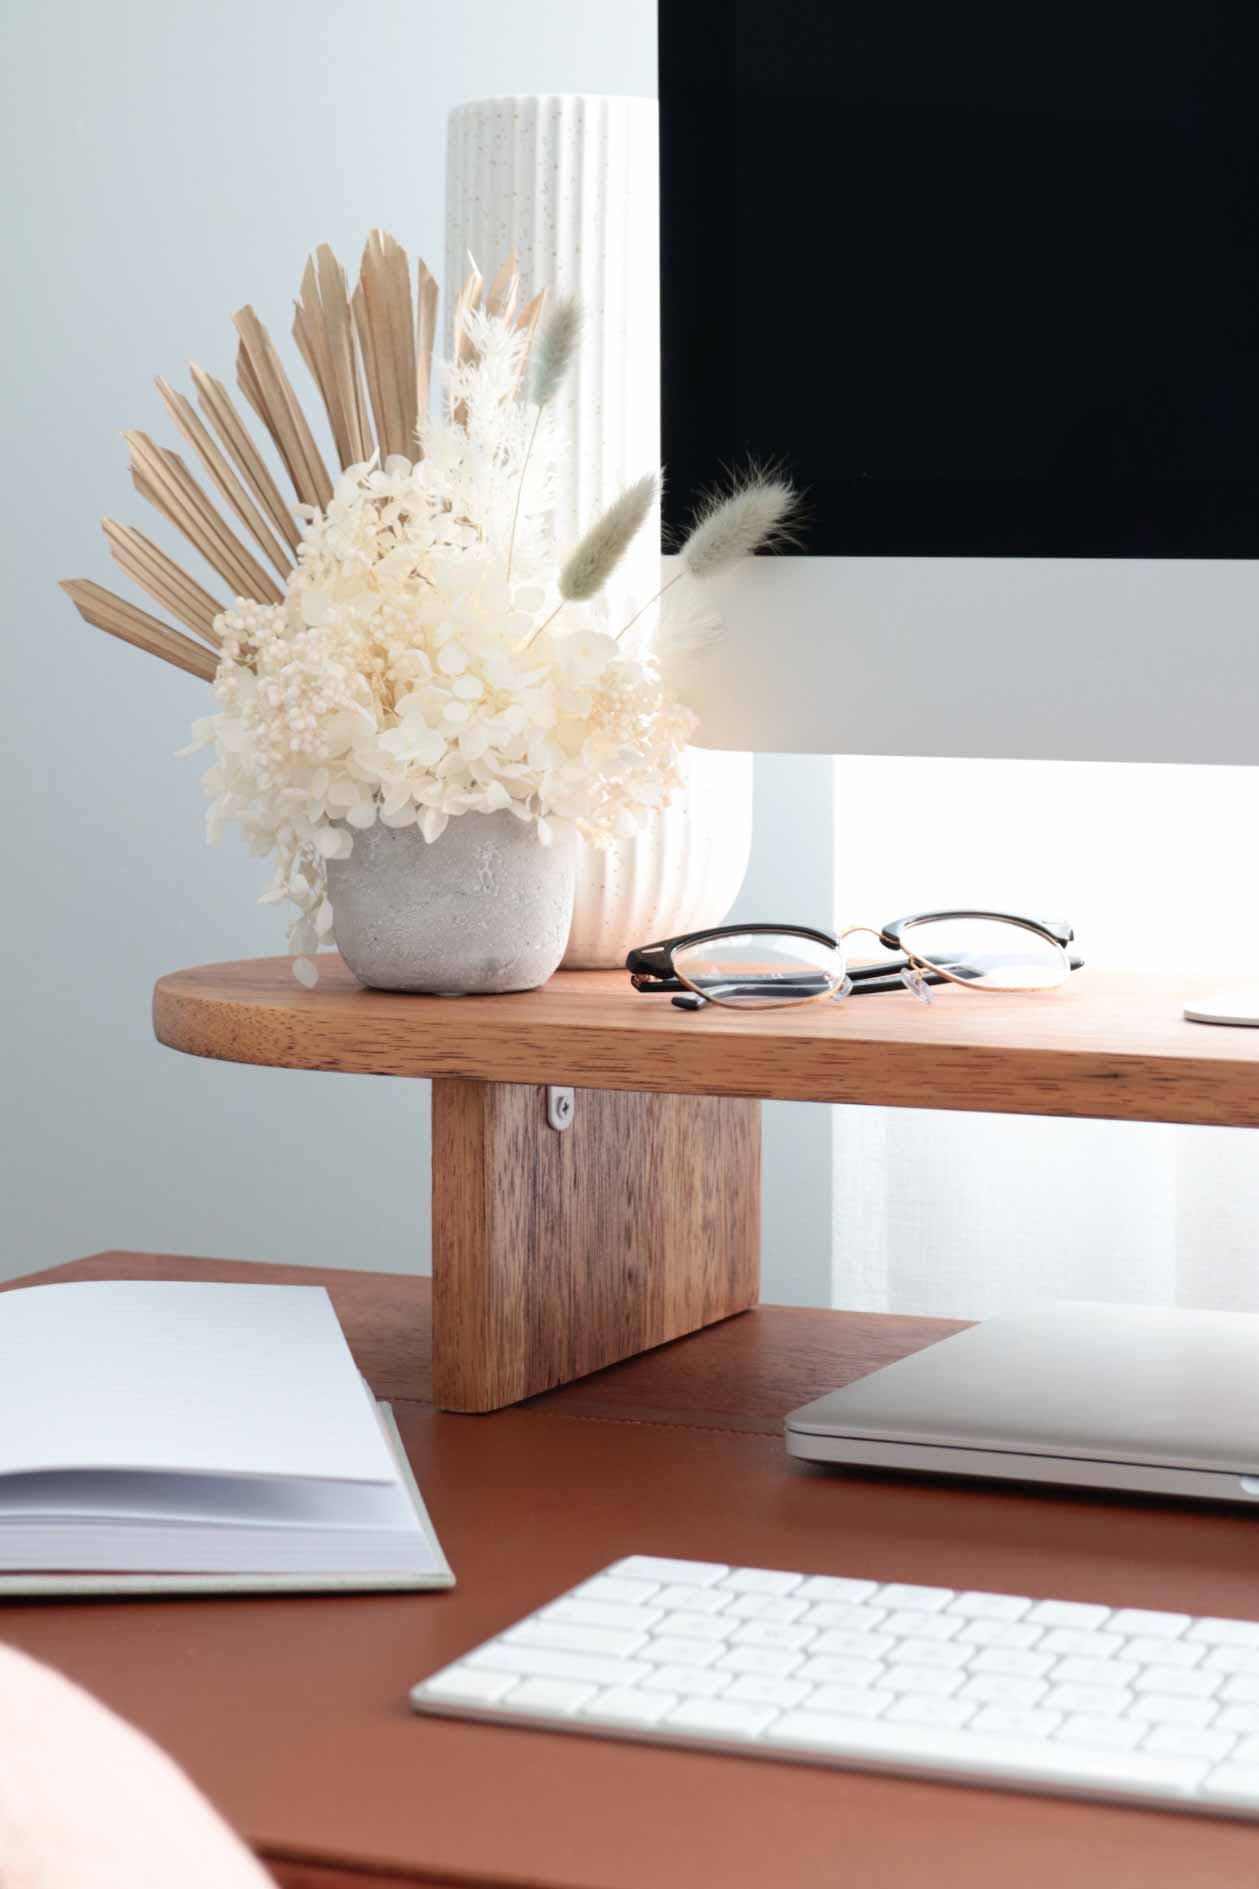
Our Clear Matt wax creates a seamless, smooth natural timber finish on this computer monitor stand. It’s long-lasting and hard-wearing, so you can safely move your monitor or add decorations without affecting the finish.
1. Use a clean rag to remove all dirt, dust, grease or polish from the stand.
2. Apply a coat of wax to the stand with a paintbrush or roller. Ensure the surface is evenly covered.
3. Once the first coat is dry, remove any grain raise by lightly sanding with 240 grit sandpaper, being careful not to sand through the coating.
4. When the first coat is thoroughly dry, apply a second coat of wax to ensure a long-lasting finish.
Use Feast Watson Timber Floor Wax elsewhere in your home office.
Apply our Timber Floor Wax to your home office's timber flooring, furniture, or finishes to ensure everything looks as fresh as your new computer monitor stand. You'll only need to spend a few hours on it over the weekend. Once your workspace is transformed, you'll feel inspired to start the week strong on Monday!
Related Guides
Advanced

Create a custom bench
Add a beautiful, yet practical timber piece to your space with our wooden bench DIY. Create a statement colour contrast with our Prooftint colour range or stick to one hue for a monochromatic design.
Intermediate
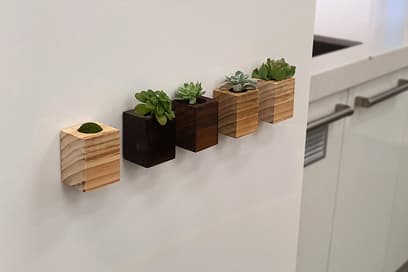
Making planter magnets
Planter magnets are a stylish addition to any space and can be easily customised by carefully selecting a stain or varnish that suits your home decor.